Actions
An Action is the culmination of your configuration.
An Action is essentially the definition of a work flow to perform a desired task (or list of tasks). You include, within the Action, the appropriate modules to perform the desired task. The Action is then assigned a schedule for when it should execute, and you assign Trading Partners to it that need to be involved in the process.
The Action has reference to all the Data Definitions that are going to be used to perform the task. Each of these Data Definitions can have their connections reassigned (run time assignment).
The Action uses the list of references to manage the connection and opening of the Data Definitions .
The Action has a reference to the list of steps to be performed as part of the work flow. These steps could involve other modules like Reports and Maps, or could be simple internally defined steps such as Shell Execute commands, custom script, or bespoke SQL statements. It is these steps that defines the tasks the Action performs.
An Action is given a schedule for when it should execute. This may be either manually by an operator running the Action when desired, or automatically at scheduled intervals or by monitoring for a file to arrive.
An Action could also be published as a web service allowing a third party to trigger the Action by consuming the web service. By publishing as a web service it allows Statelake Actions to participate in a service oriented architecture, and this loose coupling allows for greater flexibility and stability for future changes.
Trading Partners are assigned to the Actions that they need to participate in. This could be either by them sending data to be consumed by the Action, or the Action creating data to be sent to the Trading Partner. An example is an Action that outputs invoices, by assigning different Trading Partners to the Action you can output the invoices in a manner suitable for each Trading Partner.
General Screen
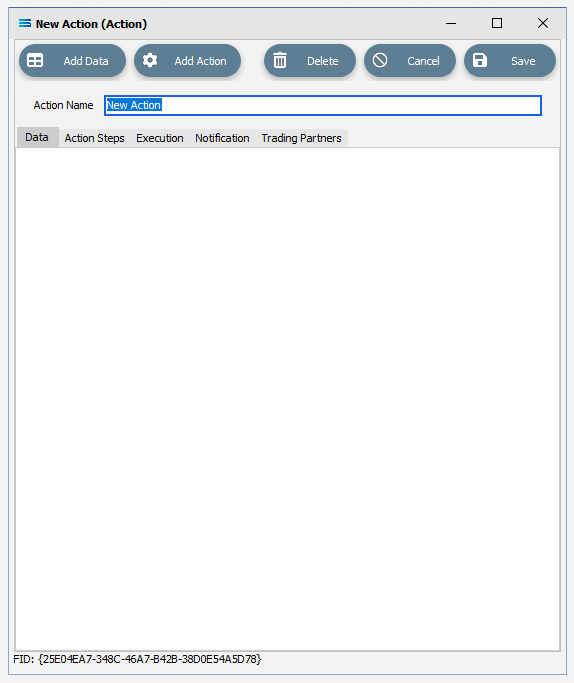
Fields
Field Name | Description |
|---|---|
Action Name | A friendly name for the Action. |
Buttons
Button Name | Description |
|---|---|
Save | Click to Save any changes you have made. All changes will be lost if you do not click the Save button. |
Cancel | Click to Cancel any changes you have made. |
Delete | Click to Delete this module. You will be asked to confirm your choice. |
Add Action | Click to select an Action Step to add to the Action. |
Add Data | Click to select a Data Definition reference to add to the Action. Options are DB, File, Web and JSON. |
Sometimes you may find that the success or failure message box is hidden behind the Statelake Designer window - particularly when moving around applications. If this occurs, use <Alt><Tab> to switch focus back to Statelake Designer, and bring the message box back to the forefront.