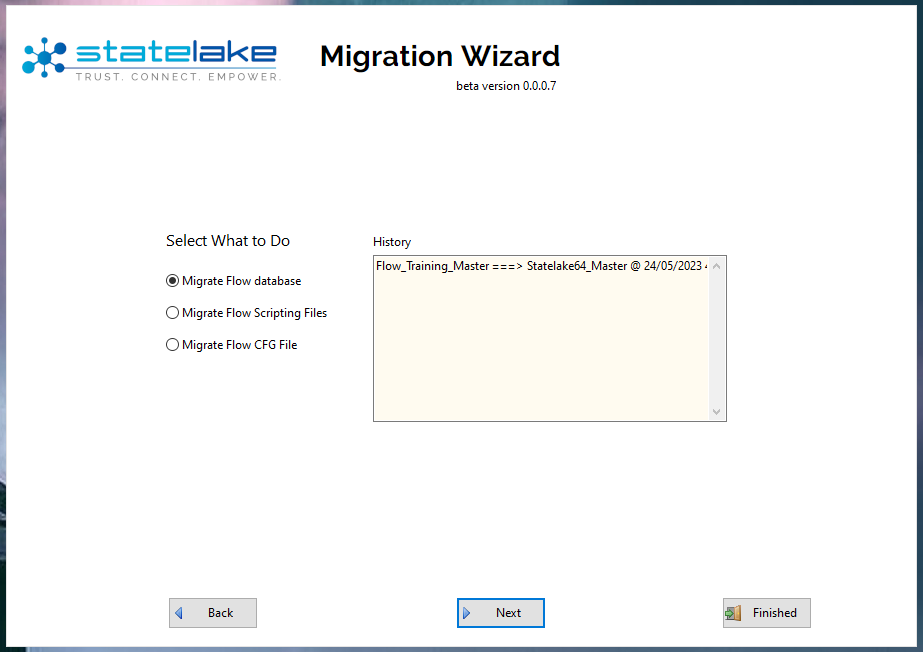
Migrate Flow Database
This option migrates an existing 32bit Flow configuration database into the 64bit Statelake format.
As soon as you select this option, if you have previously migrated any Flow databases, then this information will display in the History window.
After selecting this option, click Next to continue. Only select Finished if you have already migrated all of the elements you require, and wish to leave the Statelake Migration wizard.
The next screen window processes your selection across 4 easy steps. The step that is currently being processed is highlighted in bold blue text.
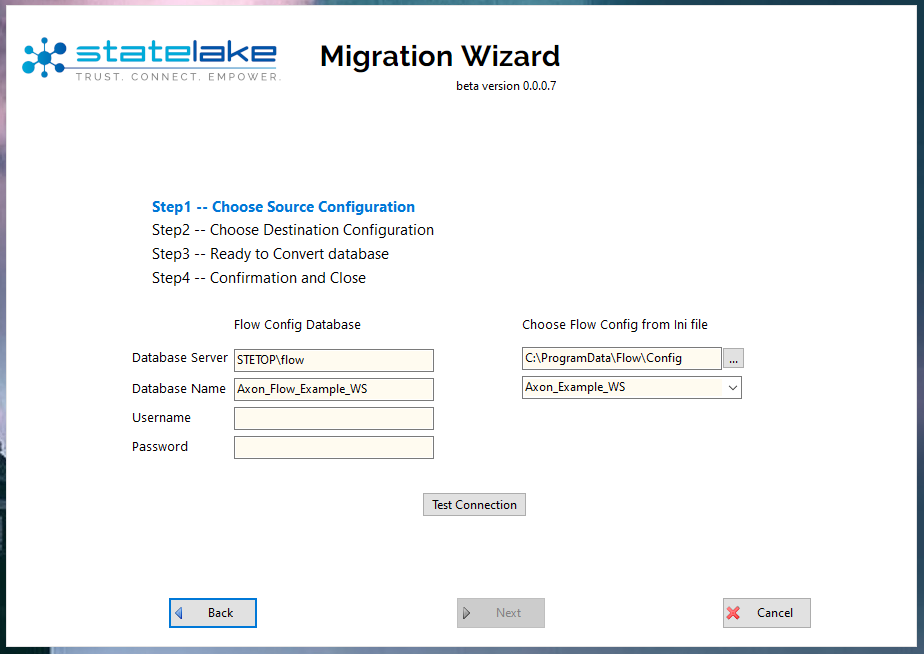
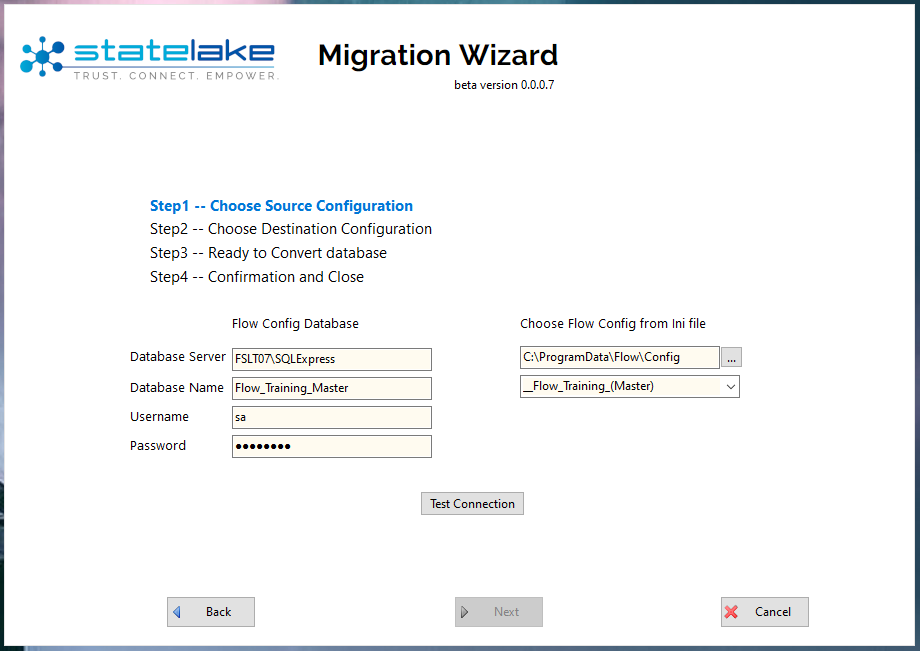
When Step 1 -- Choose Source Configuration is highlighted – you are prompted to select the configuration file from a drop-down list displaying all of the available Flow 32-bit configurations from the default directory, which is C:\ProgramData\Flow\Config. The file that holds the configuration data is Connections.ini.
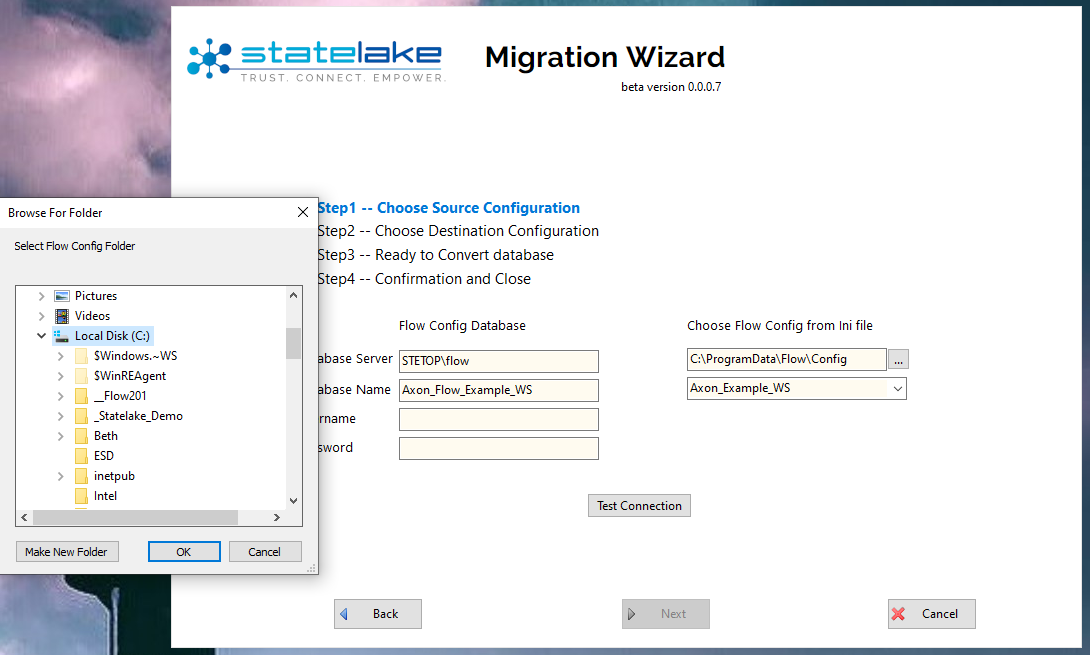
Choose Flow Config from ini file - there are two fields with drop-down options under this heading on the right-hand side of the screen below the steps, and these fields should be completed first. The first field holds the path which defaults to the directory as above. If this path is incorrect and the .INI file is kept in a different directory, then use the 3-dot ellipsis to the right of the field to open the Browse For Folder window, then select the required sub-directory that contains the .INI file. Then click OK to select that path.
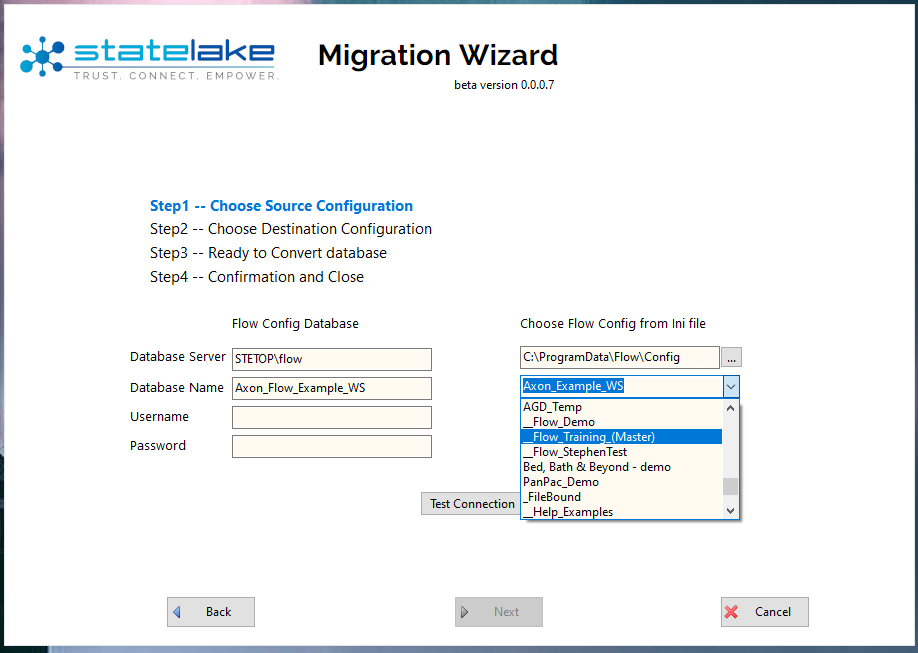
The second field is the name of the Flow configuration to be migrated - as selected from the details within the Connections.ini file. Scroll down the list to select your configuration. The list does not present in strict alphabetic sequence, but in creation sequence. So be aware that if the list is long, the configuration you are looking for could be anywhere in the list. In this example we will select _Flow_Training_(Master) from the list.
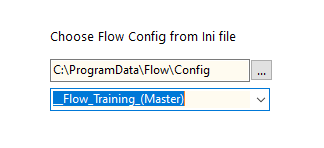
Once selected, the configuration name will populate the field as illustrated below.
Flow Config Database - On the left-hand side, under this heading are several fields. All four of these fields are automatically populated, based on the information contained in the .INI file that you have selected.
Database Server Name
Database Name
Username
Password
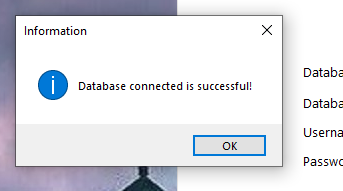
To ensure that all the links have been made, click on the button Test Connection. You should get a confirmation pop-up of a successful connection.
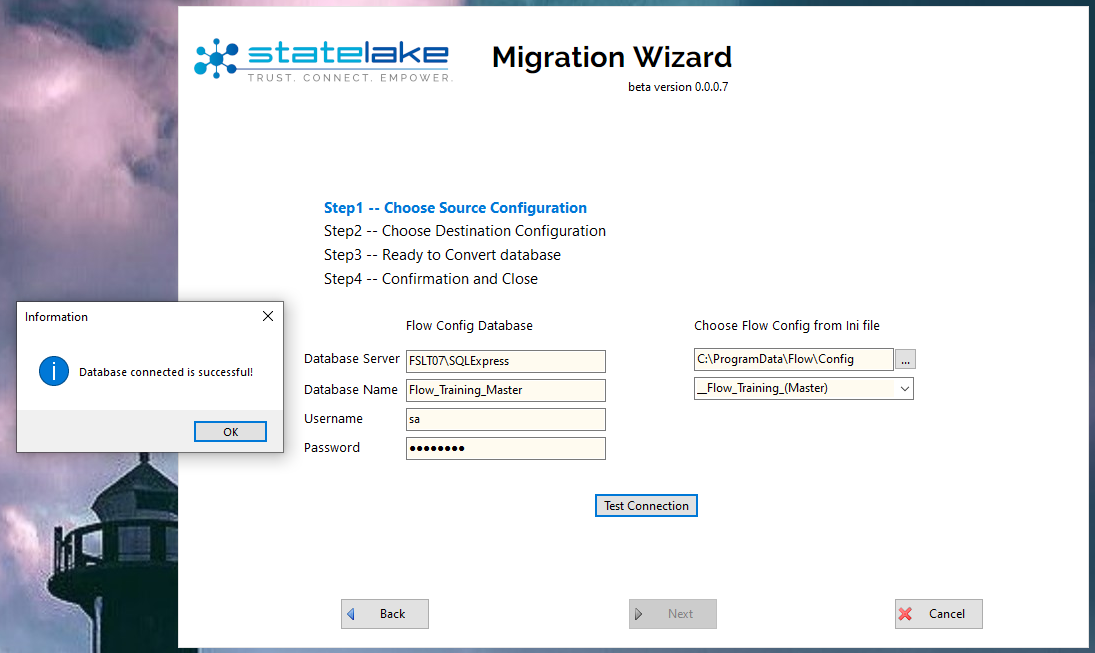
Click OK to close the pop‑up window and activate the access to the next step.
Click Next to continue. This clears the current selection and advances you to the next step.
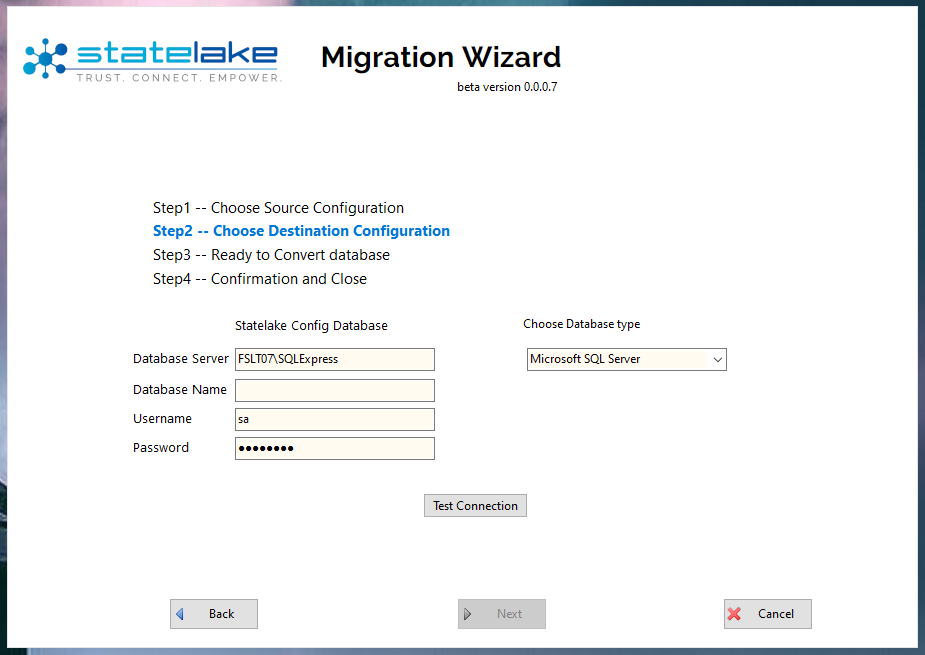
Step 2 – Choose Destination Configuration – on the right side of the window, use the pull-down list to select whether the destination is to be migrated using Microsoft MSQL Server or MySQL. The default is Microsoft SQL Server.
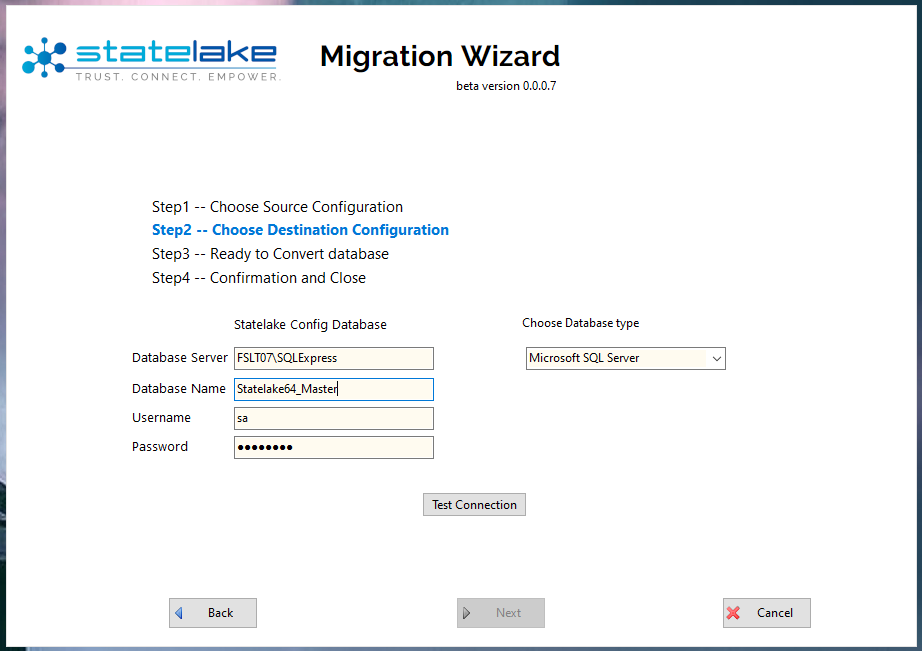
On the left of the window you are prompted to key in information for four fields to identify the details for the Statelake Destination. Remember – this is for the destination, and all fields apart from the Database Name have been pre-populated. Enter the appropriate information.
Database Server – the name of the server instance (hostname) for the destination. This must already exist and is automatically populated. By default the data mimics the Database Server detail that was specified for the source.
Database Name – the name that you select for the destination.
Username – your username, pre-populated and by default based on the data from the source.
Password – your password. Pre-populated and taken from the equivalent source field.
Once your information has been entered, click on Test Connection. If the server name is incorrect or does not exist, a message will display and you will have no option but to return to the screen and correct the server name.
If the server name was correct but you have entered the name of a non-existent database, this connection process will prompt whether you want to create this new database.
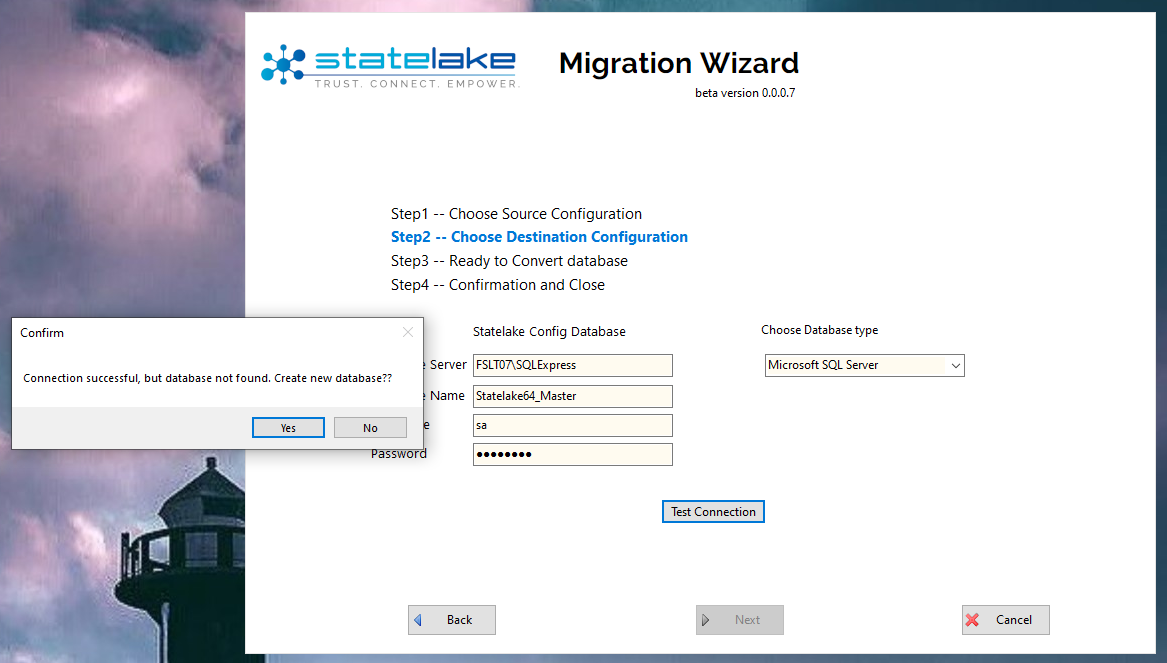
Respond Yes or No as appropriate. No will return you to the screen and no further action will be taken – you will be able to re-enter or correct any of the details including the database name. Selecting Yes however, will create this new destination database and a message will pop-up once this process has been completed.
Click OK to close the message. Click Next to continue. This clears the current selection and advances you to the next step.
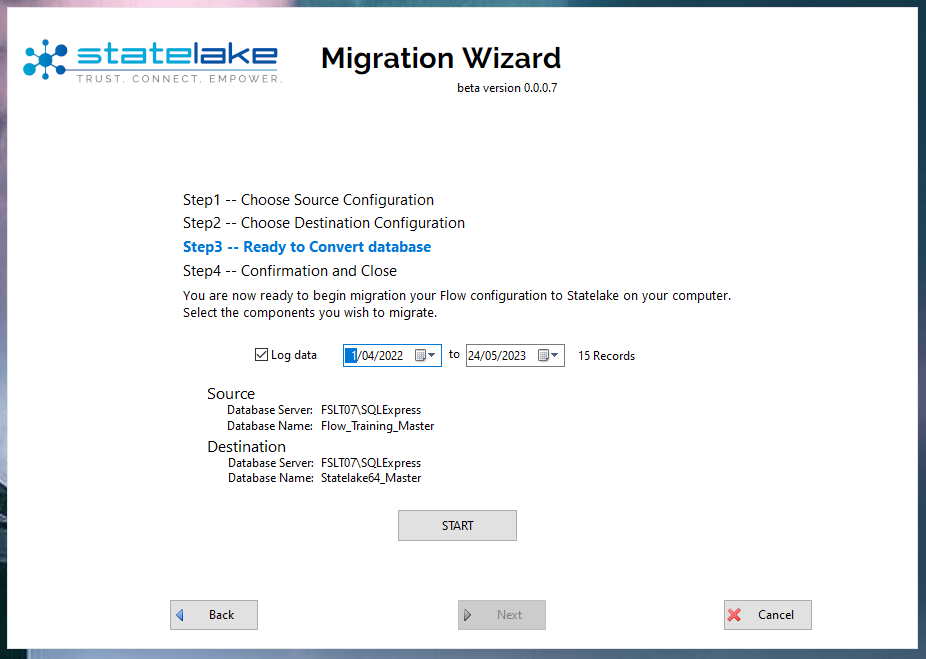
Step 3 - Ready To Convert database – to confirm the selection of the components that you are wishing to migrate from a Flow database into a Statelake database.
This screen details the selection so far, and lists the server and database name for both the source and destination. If any of these details are incorrect, such as the wrong configuration having been selected, simply Cancel and start again.
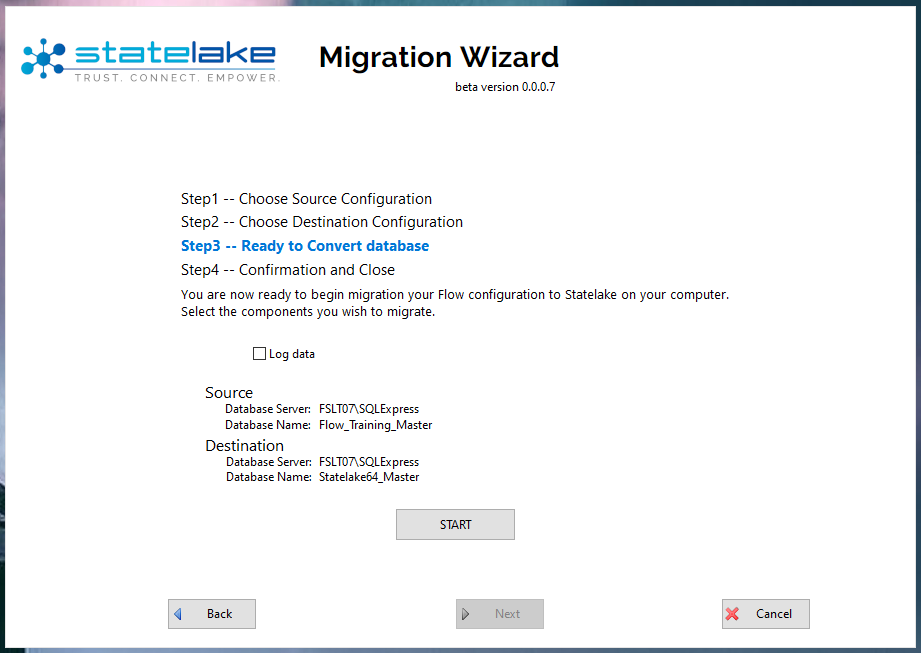
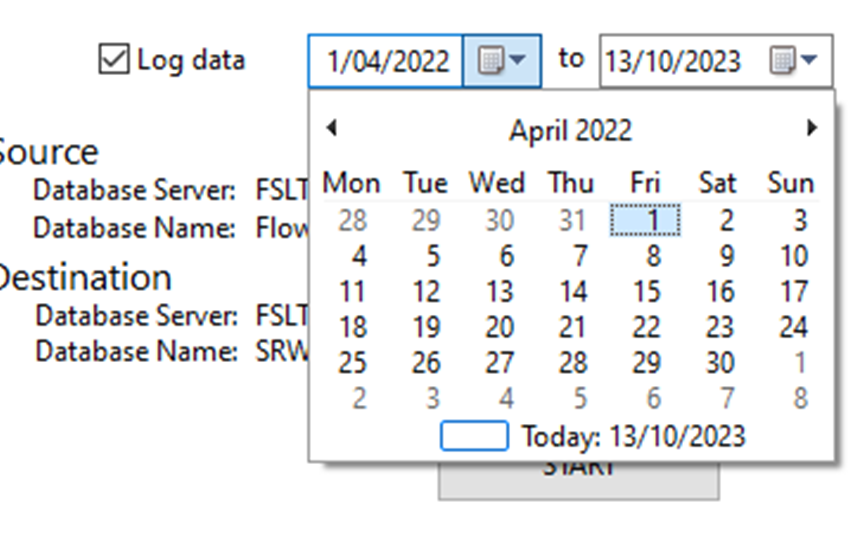
This screen also allows you to specify a date range for the migration of any Logs. Tick the check box labelled Log Data to include these files.

A from-date and to-date field will appear once this box is ticked. Enter your date parameters into these pop-up from-date and to-date fields using the arrow keys to activate the calendar pop-ups. When you enter a date range, the system will identify any available logs within that configuration, and display the total within those dates.
You can still go back a step with Back or Cancel.
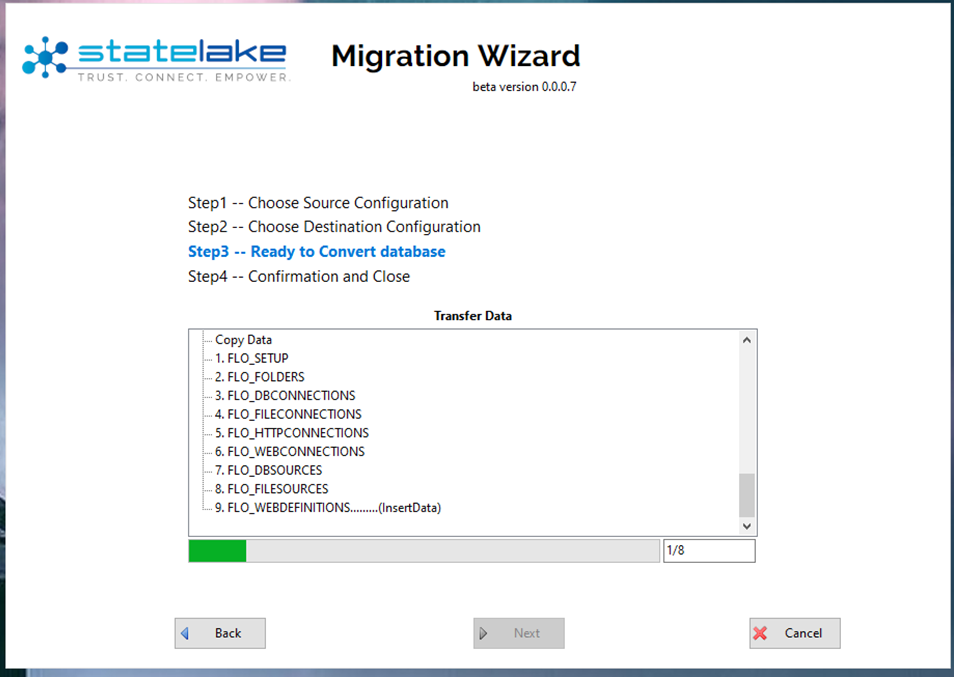
When you are satisfied that the data is selected is correct, click Start to set the migration process going.
Once started, a scrolling action window appears, documenting each step and each action.
The migration process does not destroy or alter the source Flow 32-bit configuration.
If there are no records found in the Logs for the specified date range, then the counter will show zero (0) records as located.
Step 4 – Confirmation And Close - The message “Configuration Data Migration Successful!” appears once the migration is complete.
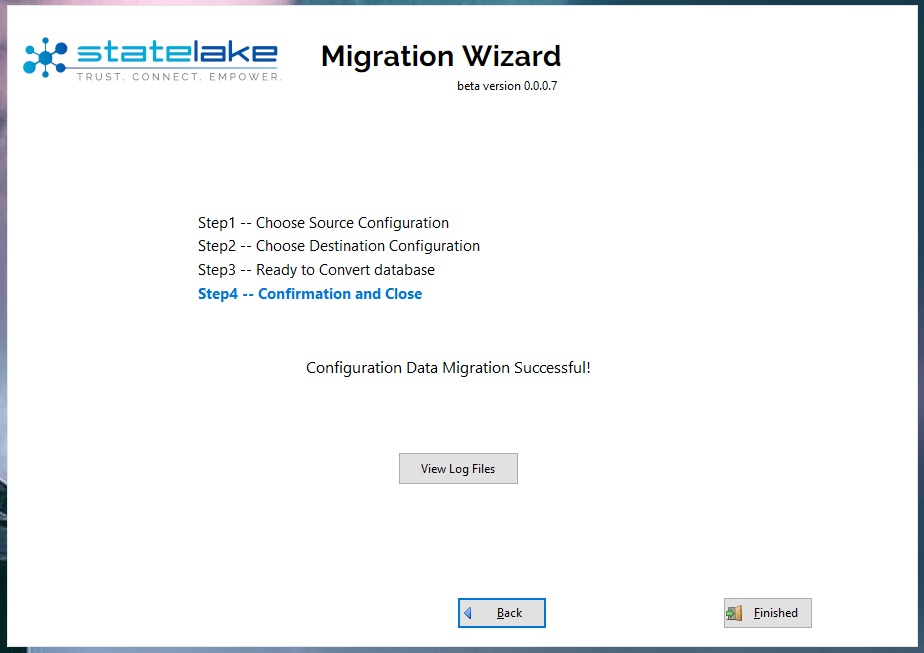
To view the log, click View Log Files.
If there are no records found in the Logs, then viewing the Logs will show an empty blank window - there will be no records to display,
If there are records to display, then a window will open that displays the source and destination server and database names, the date range of any Logs migrated, and the time taken for the migration.
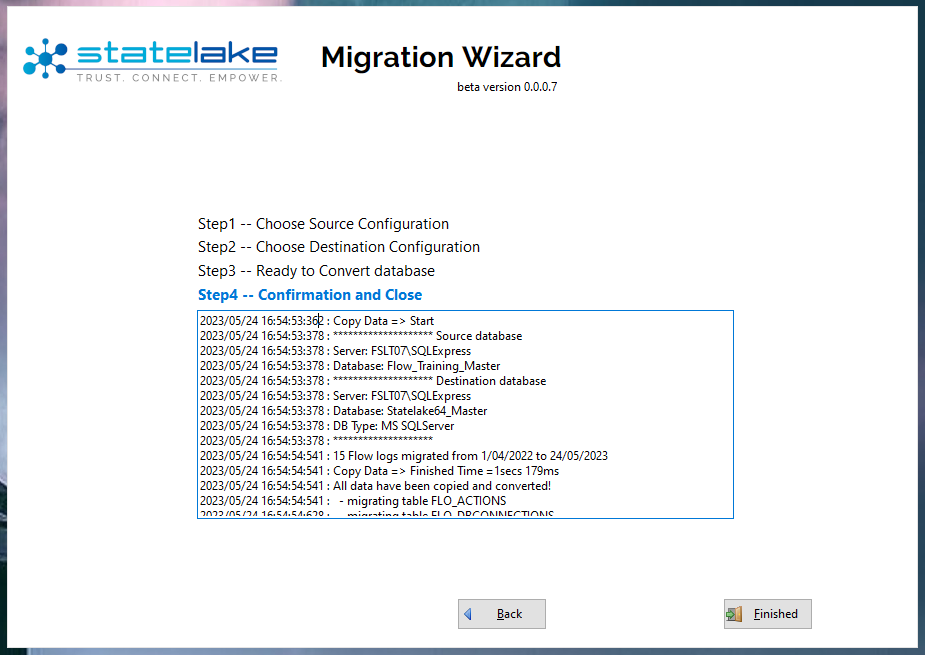
To scroll up and down in the log, click anywhere within the log window and use the arrow keys to scroll up and down.
The migrated database has been saved into the folder/path that specified. You can then either select Finished to exit the wizard, or Back to continue. Back will return you to the previous screen only, so click on Back as many times as required to return to the menu screen.
Once a Flow configuration database has been migrated via this Migration Tool, you cannot re-migrate the same Flow configuration database using the same destination name. A single Flow configuration database can be migrated repeatedly, however each time it must be migrated to a unique destination configuration database.
On return to the menu, the history scrolling window lists the database/databases which have been processed.
Use this tool to migrate all of the Flow databases that you need to - but they must be migrated one Flow database at a time.
If you have accidently exited the wizard, simply re-start the wizard to continue.