Migrate Flow Scripting Files
This option migrates existing 32bit Flow include files into the 64bit Statelake format. The History block will show what scripting (include) files have already been migrated, and any that will be migrated subsequently will be added to this list. Initially, this History block will be blank.
After selecting this option, click Next to continue.
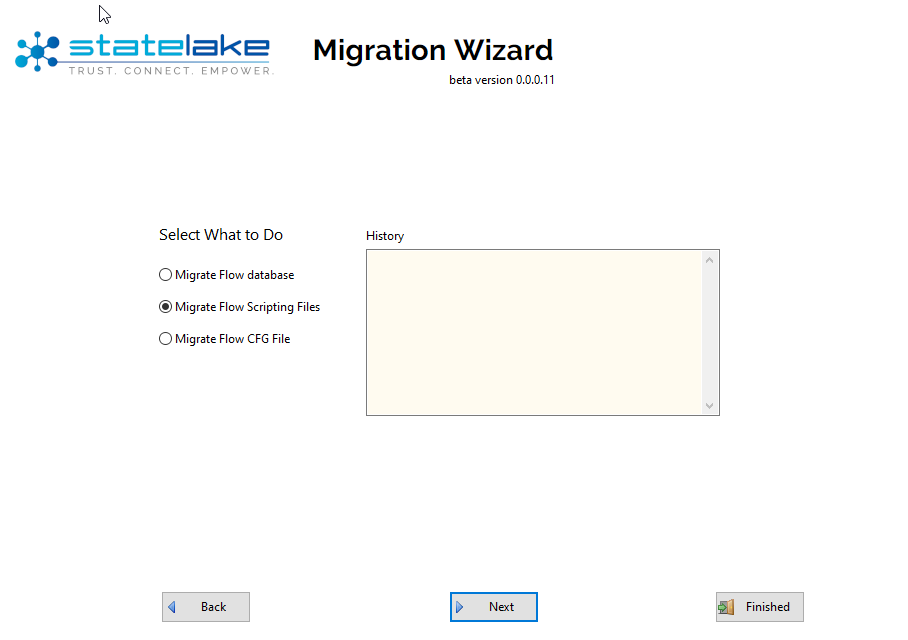
Only select Finished if you have already migrated all of the elements you require, and wish to leave the Statelake Migration Wizard.
The next screen window processes your selection across 3 easy steps:
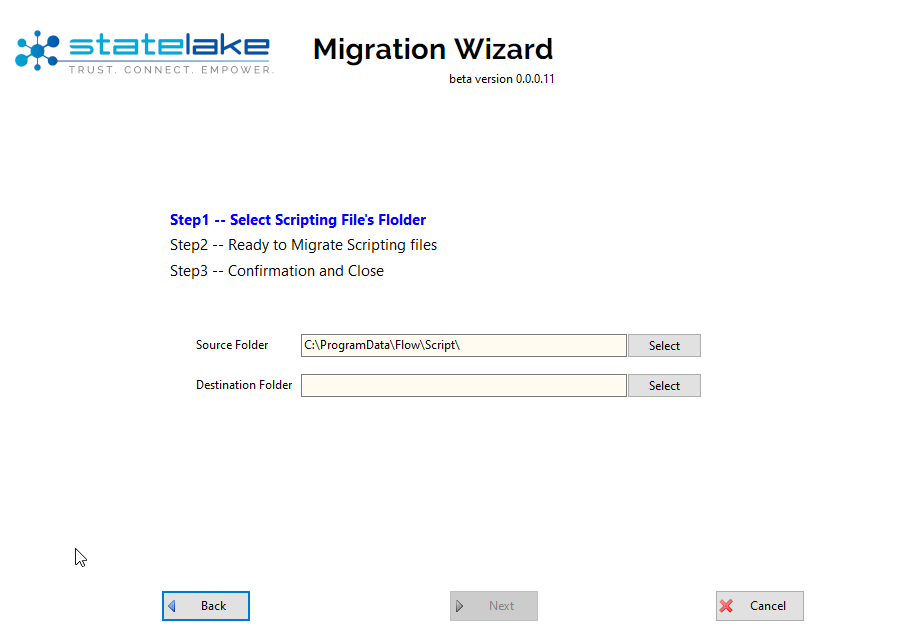
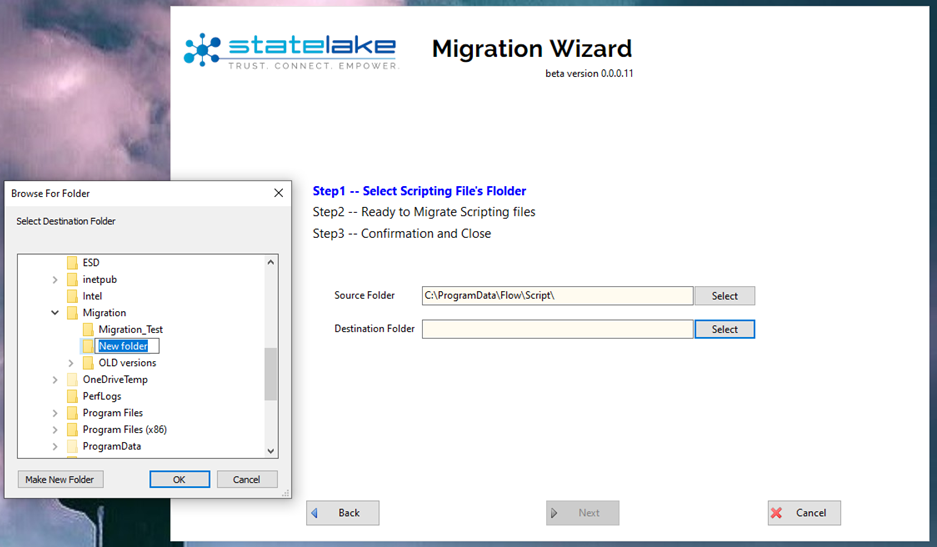
Step 1 – Select Scripting File’s Folder – the source and destination folders must be identified.
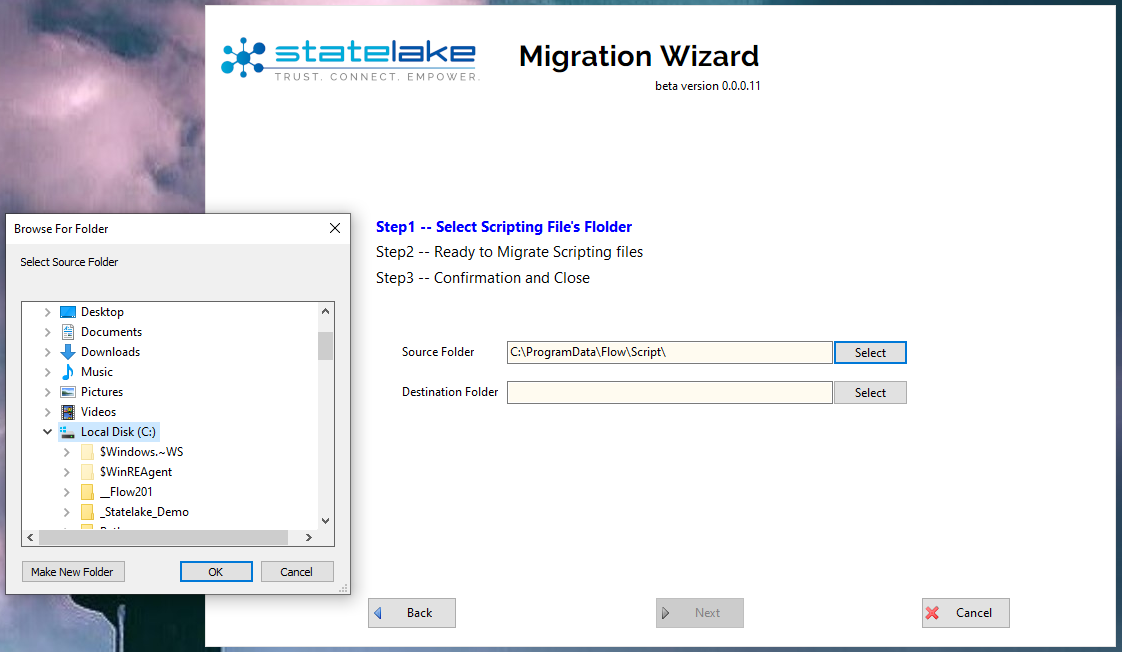
Source Folder - the source folder field is pre-populated with the name of the default folder C:\ProgramData\Flow\Script\. To change this folder, click Select to open the Browse For Folder window, then select the proper sub-directory and click OK to select that path as illustrated below.
Destination Folder - the name of the destination folder field is blank. Either key‑in the folder path, or click on Select to pick a folder from the tree list to populate this field.
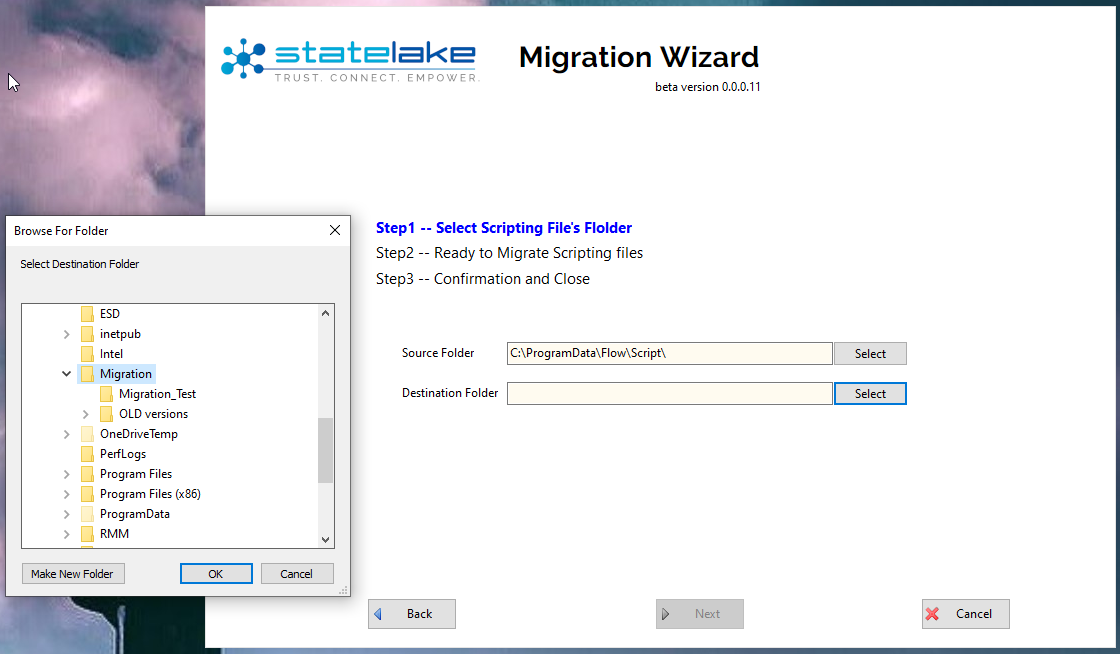
To make a new folder, click on Make New Folder and enter the name of this new folder into the field.
On <enter> your new folder will be created and the newly created folder will be displayed on the directory tree. To rename the folder, right-click and select Rename and change the name as appropriate.
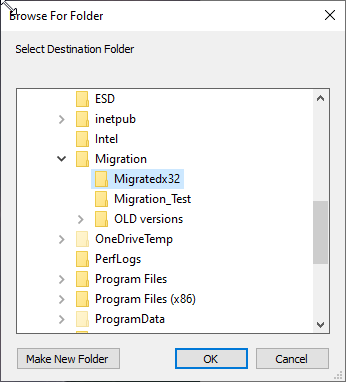
Click on OK to return to the wizard and the new folder name will populate this field. If for some reason the folder name does not appear, or if you want to change it, then simply click on Select to begin the process again.

If the source folder does not exist, then Next will not be activated. If this happens, then go back and correct the field. Else, click Next to continue.
Step 2 – Ready to Migrate Scripting Files – this window displays a list of the include and text files that have been identified in the source folder and will be migrated from Flow to Statelake. The number displayed beside each file is the size on disk in bytes.
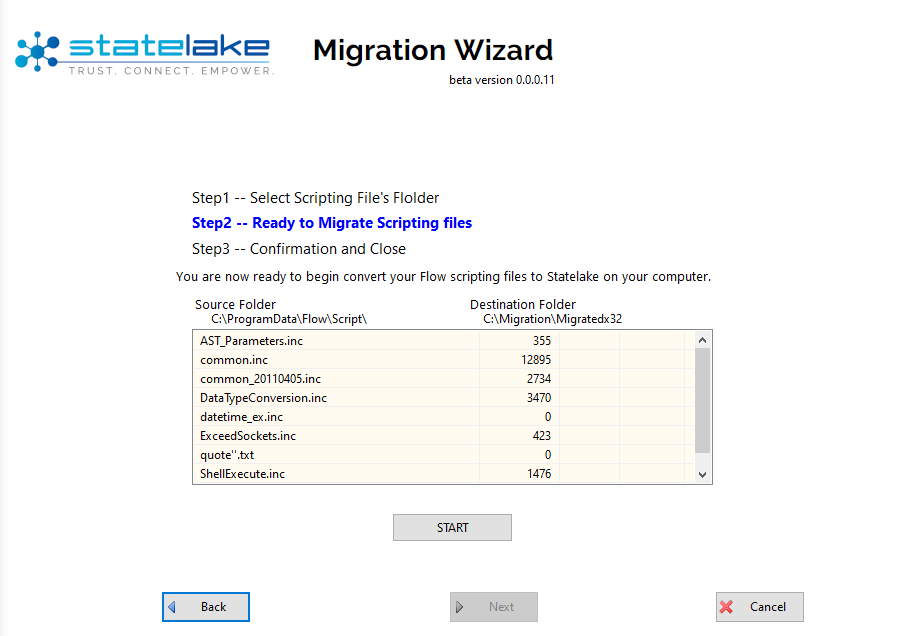
Click on Start to set the migration process going. The message All Scripting Files have been migrated! appears once the migration is complete.
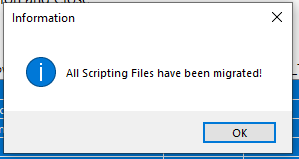
Click OK to close the message box.
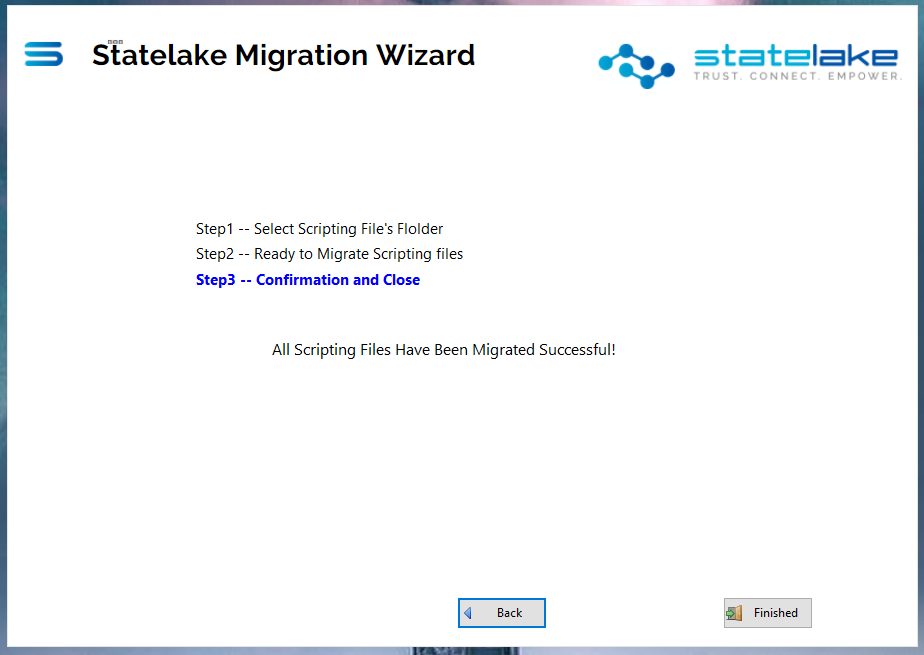
Step 3 - Confirmation and Close - A further message advising the successful completion of the migration will display, and you are able to view the log by clicking on the View Log button.
You can then either select Finish to exit the wizard, or Back to continue. Back will return you to the previous screen only, so click on Back as many times as required to return to the menu screen.
On return to the menu, the history scrolling window lists the include/script files which have been processed.