Migrating Flow to Statelake
Introduction
Statelake is Flow Software’s purpose-built application for business data integration – integration is also known as EDI, an acronym meaning Electronic Data Interchange, or ETL, meaning Extract, Transform, Load.
Statelake can be used by organisations in any industry, and organisations of any size. Statelake is particularly relevant to organisations with data management requirements across multiple applications or databases, organisations who have trading partners interested in exchanging data electronically, or where organisations may be seeking to minimise reliance of manual re-keying of data to improve accuracy and productivity.
Statelake builds on the successful foundation of 32-bit Flow.
This Migration Tool enables the easy conversion and transfer of 32bit Flow configuration files, databases and scripts, into the 64bit Statelake format.
The following diagram illustrates the flexibility and versatility of the Migration Tool, and the various ways that you can migrate components, databases and files from 32bit Flow into a Statelake 64bit format.

The Migration Tool
The following walks you through use of the Statelake Migration Tool wizard, which runs as a stand-alone executable. The Migration executable file Migration.exe can be obtained from Customer Services.
It is recommended that the executable file is saved in a dedicated sub-directory called \Migration on your disk. The executable is run by double‑clicking on the file in File Explorer.
The first screen displays information about the wizard.
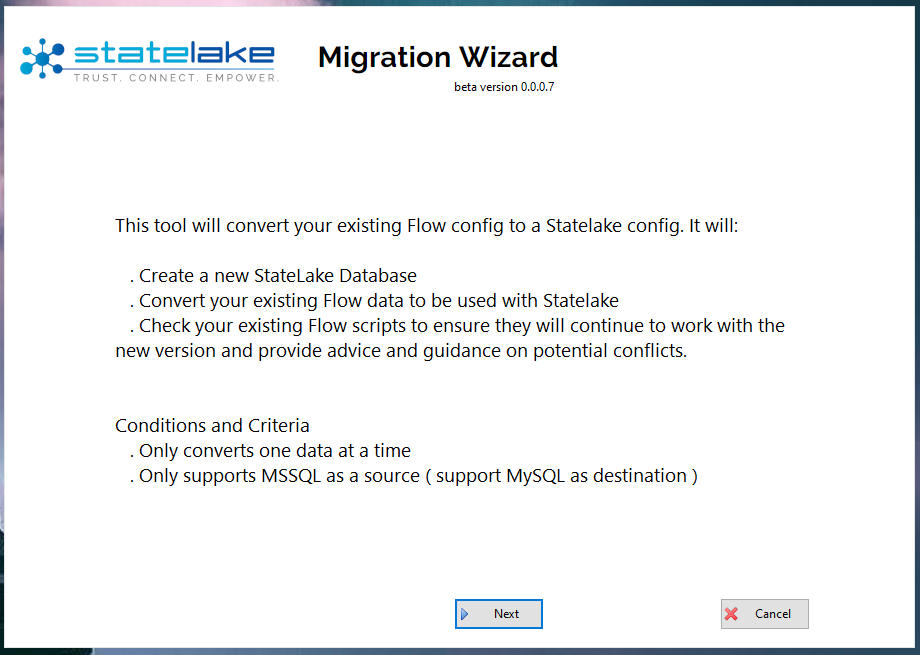
The wizard window is not scalable, however it can be moved as appropriate around the desktop. You can click Cancel at any time to close the wizard and exit the Migration Tool. Else, click Next to continue.
The Flow Migration Tool End User Licence Agreement must be accepted before continuing, so please read this agreement carefully before doing so.

Use the scroll bars within the scrolling area to access the full licence agreement. Click the appropriate radio button. If you do not accept the agreement, the only options are Back or Cancel. Cancel will close the wizard, but Back will return you to the previous information screen,
Once the agreement has been accepted the Next button will be activated. Click to continue, or click Back to return to the previous screen.
The next screen is the main menu screen and offers three options for migration under the heading Select What To Do. Only one option can be selected during each migration attempt. Your choice will determine the content of the following screens. Click on the appropriate radio button to select.
Migrate Flow database
To migrate an existing 32bit Flow configuration database into the Statelake format.
Migrate Flow Scripting Files
Migrate existing 32bit Flow include files into the Statelake format.
Migrate Flow CFG File
To migrate files which have been exported from a 32bit Flow configuration database into a CFG file, which can then be imported into Statelake.
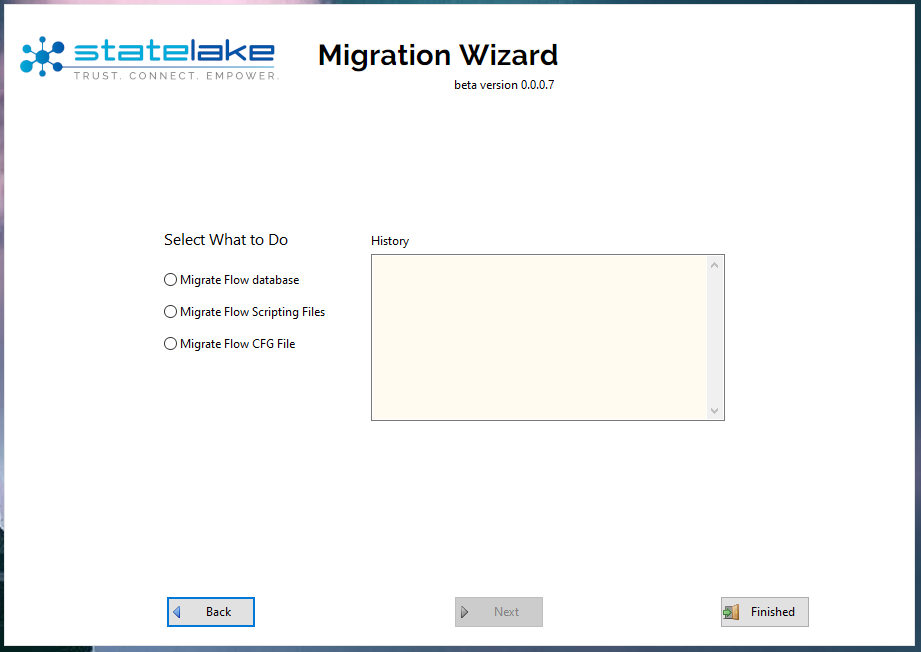
To the right of the radio buttons on this screen is the History scrolling window, which displays a history of each of the steps taken that have been completed for this specific migration, so that when the wizard is initially opened, this History space will be just a light-coloured empty block.
As you move further through the process, this history space will provide a step-by-step guide to the options taken, and the milestones achieved.
You can however cancel at any stage and halt the migration.