XML Dataview - Fields Tab - XML File Definitions
The Fields tab window is split into 2 distinct panes - Available Fields and Selected Fields.
Upon opening, the upper Available Fields pane echoes the items that were open on the Records tab, and shows all previously Selected Fields (if any) in the lower pane.
So potentially, the Fields tab can appear to be different every time you access it.
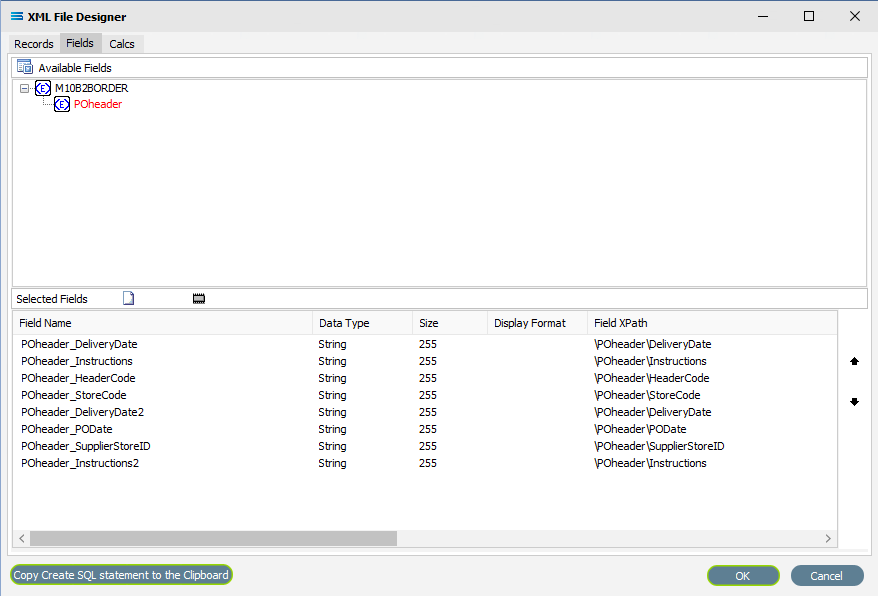
If no Fields have yet been selected, then the Fields tab will have no entries populating the lower Selected Fields pane, as illustrated below. And while the complex elements themselves (in this case M10B2BORDER and POheader) appear in the Available Fields list, they are simply the name or identifying label or wrapper for the group of fields within them, and are not able to be selected as fields.
Fields
Field Name | Description |
|---|---|
Selected Fields Field Name | The Name of the field that has been selected. |
Data Type | The Data Type of the selected field. |
Size | The maximum size of the field. |
Display format | The format specified for the field. |
Field XPath | Shows the path for the field - such as \POheader\HeaderCode. Make sure that this field looks OK for each field. It is relative to the Root Node so a mistake here can lead to incorrect references. |
Namespace | The Namespace for the field. A namespace is a logical declared container space which groups together and stores the names associated with one particular event or process. |
Default Value | The Default Value specified for the field. |
In Memory | Will be either True or False. The default is False. |
Buttons
Button Name | Description |
|---|---|
Add Custom XML Field | Click to Add Custom XML Field. A permanent additional field. Unlike an In-Memory Field, these fields will be written to the group o which they have been added and will be saved with the dataview.  |
Add In-Memory Field | Click to Add In-Memory Field. These fields are temporary additional fields that are available in memory only while the dataview is active. As soon as the dataview is closed, these temporary fields no longer exist. The In Memory column for this type of field will be set to True, 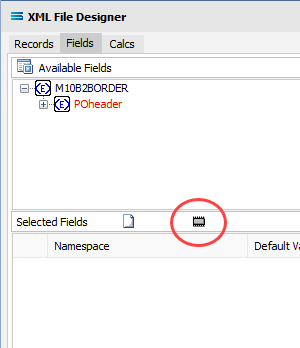 |
Copy Create SQL Statement to the Clipboard | 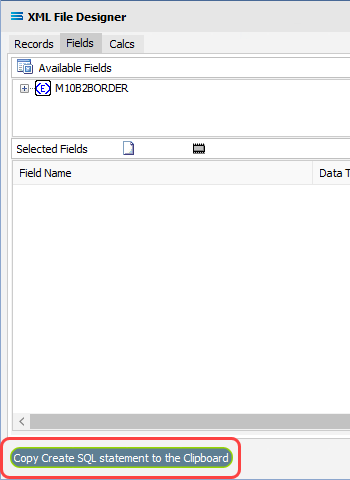 |
OK | Click to save any changes you have made. All changes will be lost if you do not click the OK button. |
Cancel | Click to Cancel any changes you have made. |
Fields
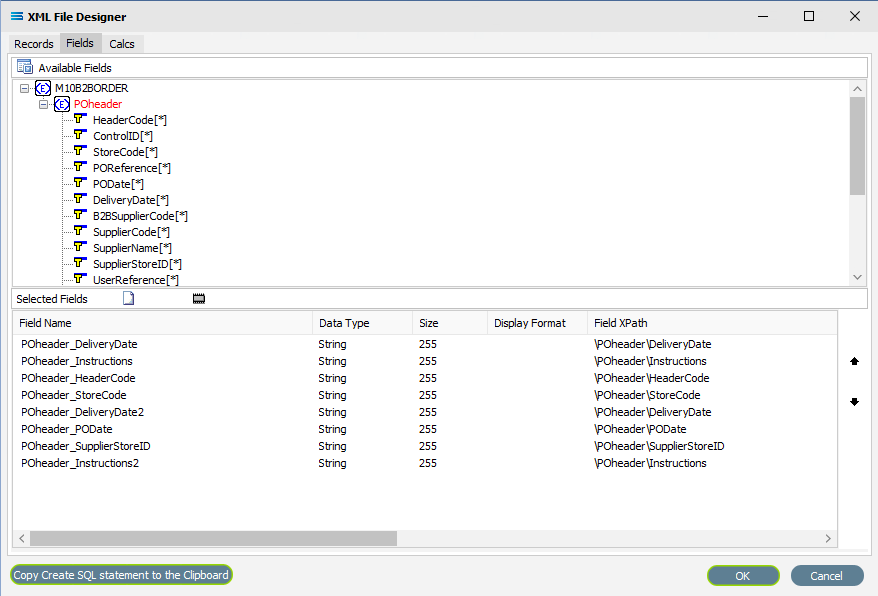
To expand any group, click on the ( + ) symbol beside it, or double-click on the name of the element - this will show all of the fields within the selected record grouping.
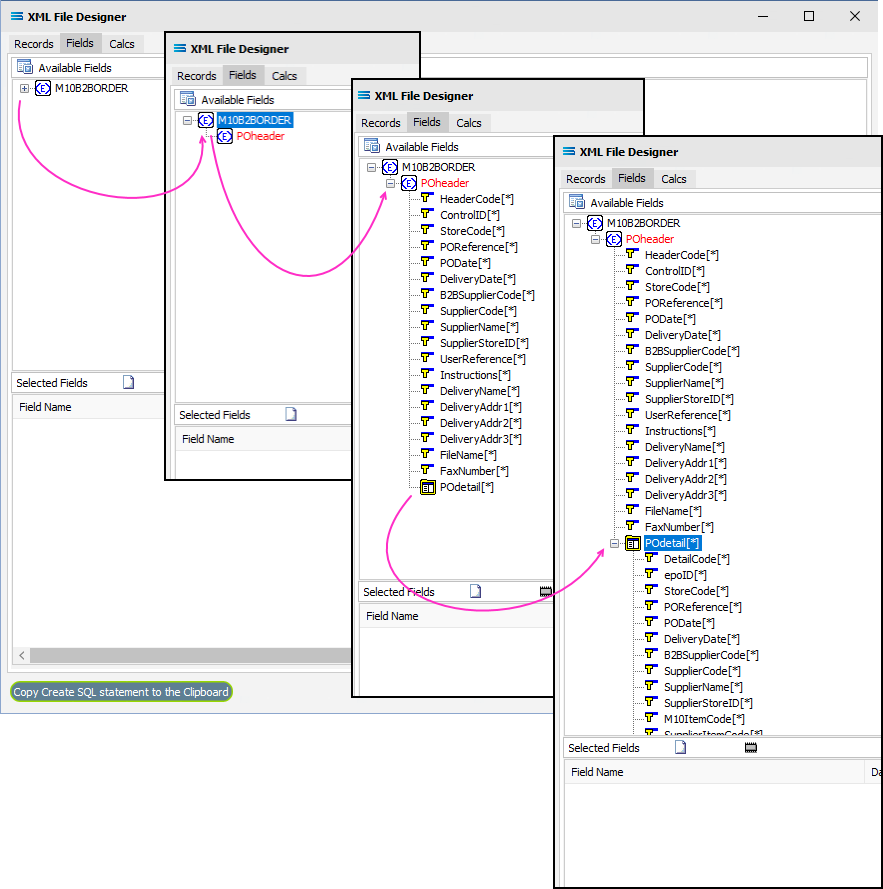
The complex group header or wrapper elements cannot be selected as fields - only the simple elements. For instance - if a Schema includes <Buyer> <Address1> <Address2> </Buyer>, then only the two (2) Address elements within the Buyer wrapper would be selected as they would be the items containing the read data. <Buyer> </Buyer> is simply the wrapper that groups the other elements together.
Complex grouping is not the same as repeating. For example, <Buyer> <Address1> <Address2> </Buyer> <Seller> <Address1> <Address2> </Seller> represents four (4) simple Address elements at the same level, and therefore within the same dataview. <Buyer> </Buyer> and <Seller> </Seller> are simply the group wrappers.
Elements at the same level may have a repeating element listed within them. For example, <Buyer> <Address1> <Address2> </Buyer> <Item[*]> <Seller> <Address1> <Address2> </Seller> is still four (4) Address elements at the same level, with the additional repeating dataview for Item at the next level down.
It is usually better to include an element for simple elements only, instead of not including it - even if it is not required for Mapping e.t.c., in the rest of your configuration. You never know when it may come is useful.
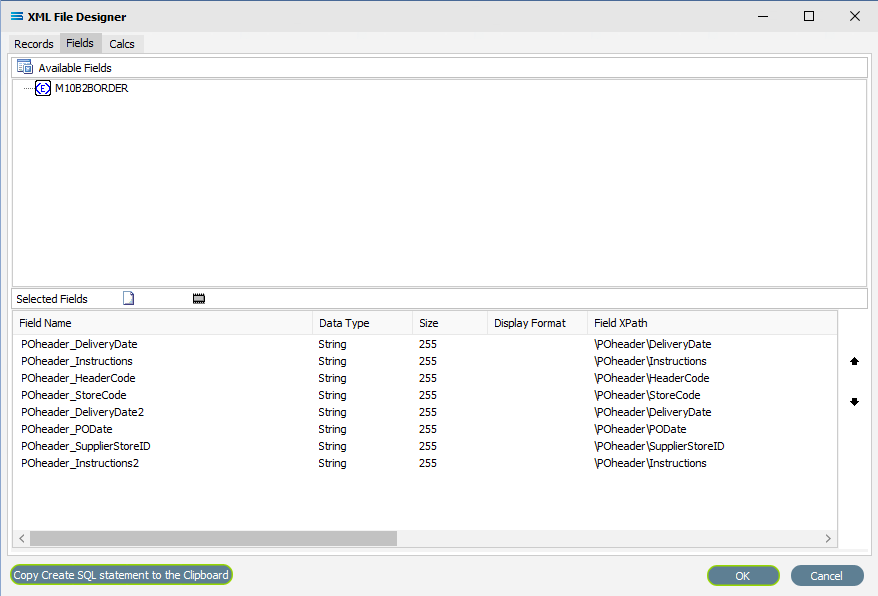
To select fields for this dataview query that are to be selected from the Available Fields list, double‑click on each field required in turn. Once selected they will appear in the Selected Fields pane, showing the data related to each field. As you select the fields, they do not disappear from the Available Fields list.
In the Selected Fields pane, all fields will be prefixed with the element group header followed by an underscore, to identify the original record.
While the next example illustrates how the XML Dataview works (in terms of selecting fields/records and specifying the Field Name and XPath), it is intentionally structurally incorrect.
The dataview pictured where there are items from both POheader and POdetail selected would only identify and extract the selected information from the first record from POdetail - all subsequent detail lines that pertained to the current header would be ignored.
So it makes no sense to try and design a dataview in the way illustrated. This design structure might only be successful if POdetail was not a repeating complex element, depending on the structure.
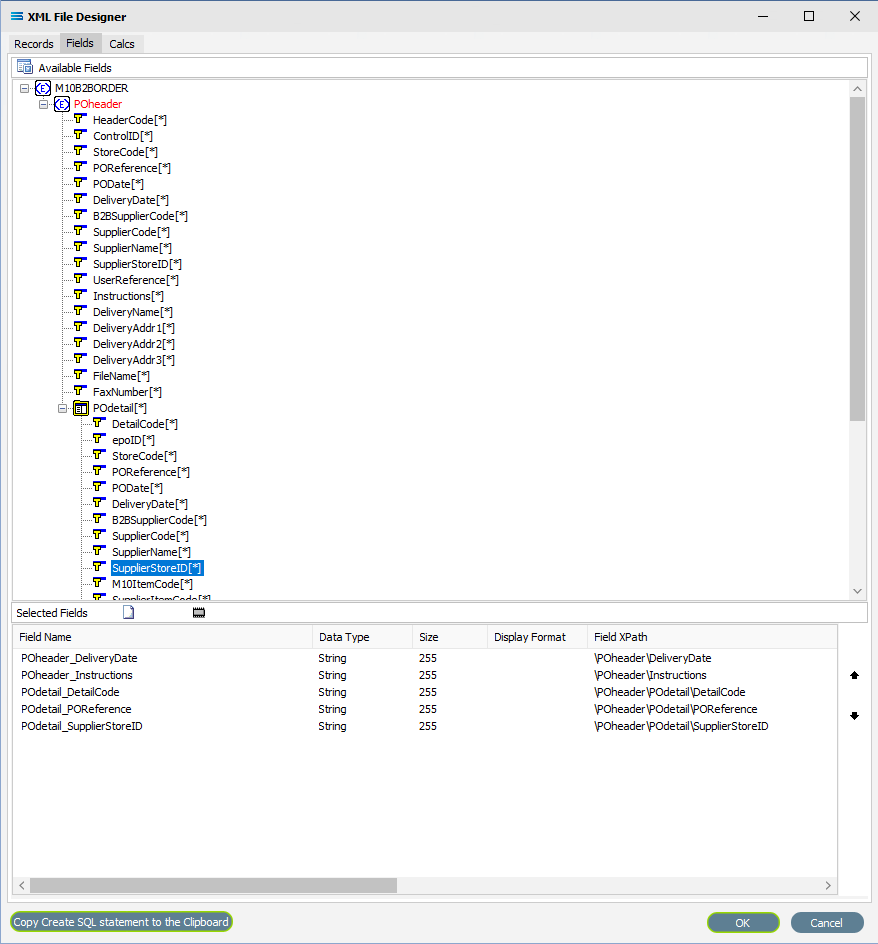
You will notice that the intentionally inserted but incorrect fields from POdetail have been removed from the following examples.
If you want to select two instances of the same field, click on the field name in the Available Fields pane for each instance. The second and subsequent selections will appear in the Selected Fields pane with a sequential number appended to the end of the field name, as shown below.
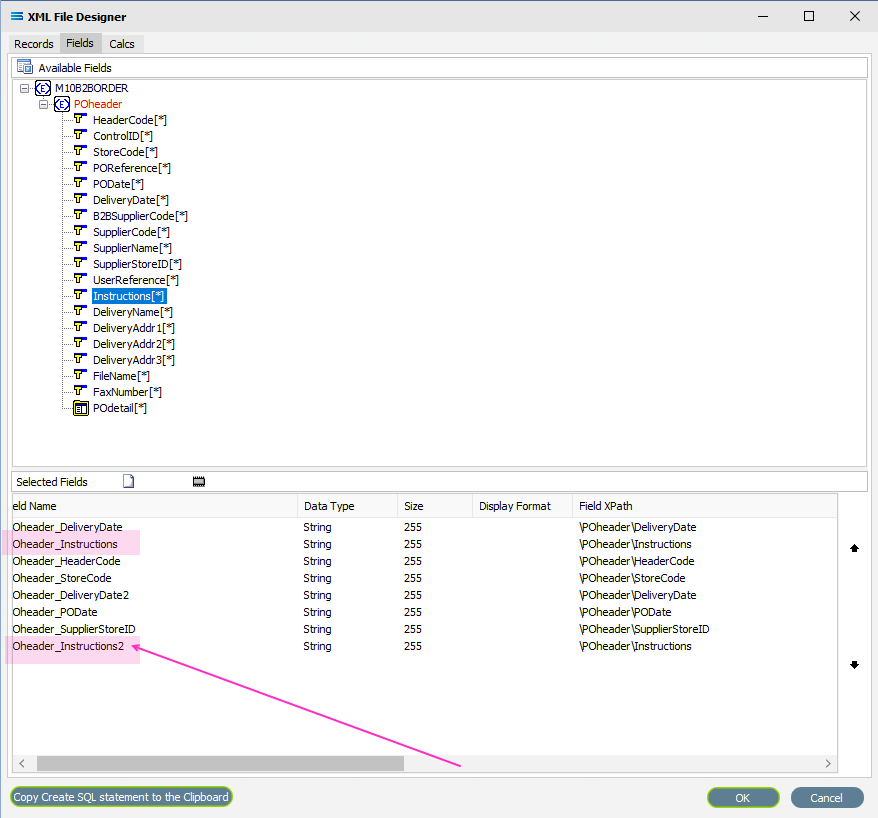
If you make a mistake and click on one of the fields in the Available Fields pane that you do not actually require, or click on a field more than once in error, to de-select it simply double-click on the field name in the Selected Fields pane that you do not want.
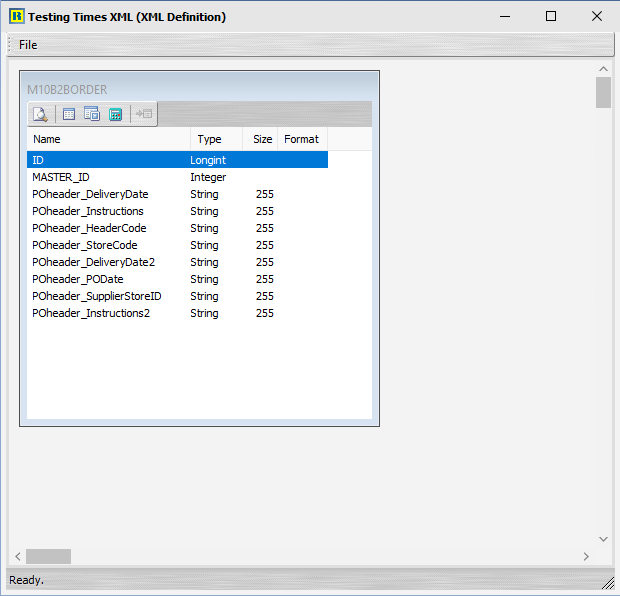
Once all your selection is complete, click the OK button to save and close the window. You will return to the designer canvas, and the dataview you have just created will be displayed.
Using Test File Load at this stage will produce a Preview with one entry.
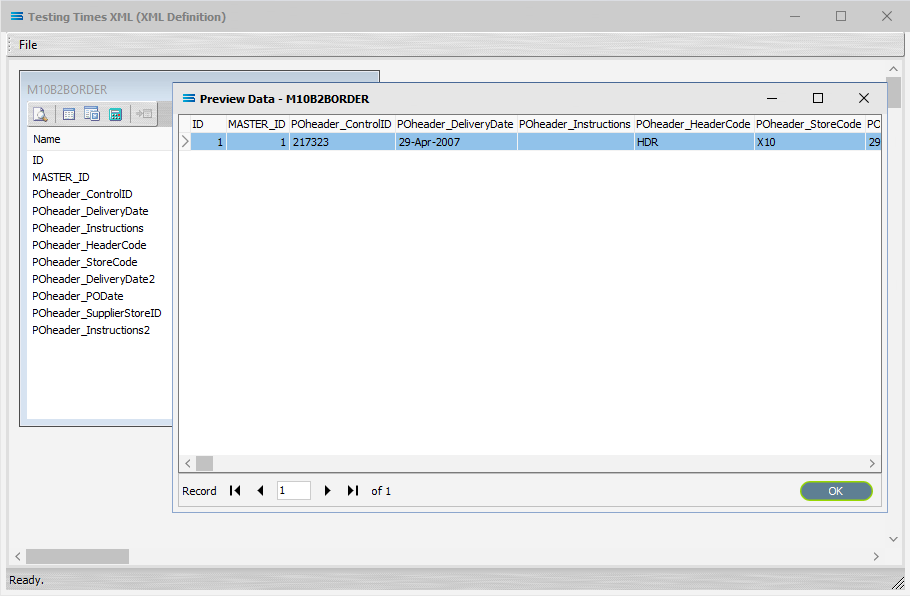
So what about the last set of records/fields containing the details for each header - POdetail?
The folder icon that was visible beside POdetail on the Fields tab showed that this item was repeating within the header record – meaning that there could potentially be multiple detail records that belong to each header record.
But with only fields selected from POheader as per this example, then no data will be pulled from POdetail to flesh out each POheader record.
To extract data from this lower information tier of repeating elements, it must be treated as the start of a node - and therefore it is treated as a node in its own right. In Statelake, it will be considered to be an “expanded” Root Node. A node within a node.
To do this we must make another XML Dataview for POdetail, and specify it as a Root Node, just as with M10B2BORDER. So repeat the process as detailed on Design - XML File Definitions using this next lower level complex element.