XML Dataview - Link Drag-and-drop - XML File Definitions
The primary, fastest, and probably cleanest way of creating and maintaining a Link between the dataviews, is by the use of the drag-and-drop method.
There is no Link tab within the definition itself, so any Link needs to be forged on the designer canvas.
There is another alternate way to create and maintain a Link through the Link button which is discussed in XML Dataview - Link Button - XML File Definitions.
Every dataview that is created will have two (2) additional fields automatically generated and inserted into the dataview by Statelake, to enhance and support the building of any dataview relationships. These internal-use only fields are called ID and MASTER_ID, and are not included any mapping process.
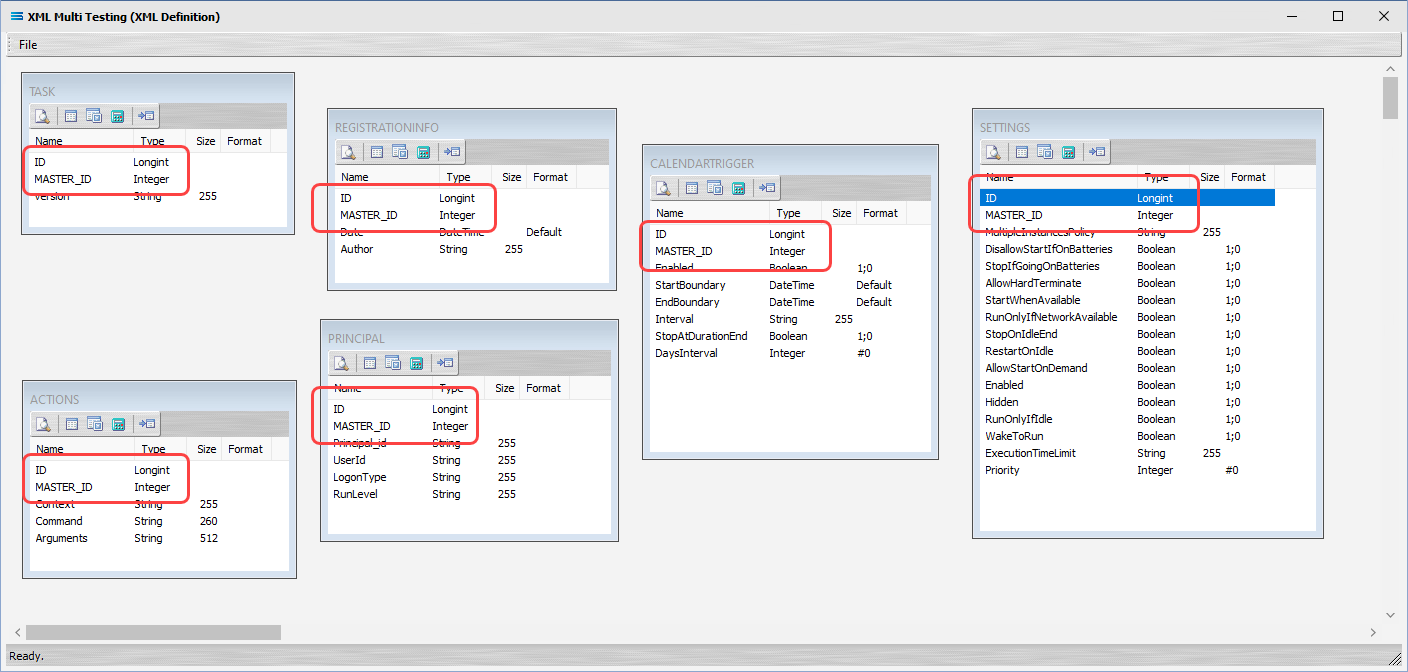
While in theory you can link any field in one dataview to any field in any other dataview, it is usual to only link a MASTER_ID of one dataview into the ID of the dataview being linked into.
So for instance, you would Link the MASTER_ID of an invoice lines dataview into the ID of a dataview for the invoice headers. Or you would Link the MASTER_ID of a dataview holding contact names and details into the ID of a dataview holding the company information - and not vice-versa.
In an imaginary space we have a list of available breakfasts in one dataview and a list of descriptions in a second dataview.

The BREAKFAST dataview is the top-level, and the DESCRIPTION dataview will be linked into it.
To add this Link relationship, the MASTER_ID field from the DESCRIPTION dataview will be dropped onto the ID field of the dataview BREAKFAST.
Click on DESCRIPTION.MASTER_ID, and drag it so that the label shows as per the example, then unclick to drop it.
The label should read “Link detail DESCRIPTION.MASTER_ID to master BREAKFAST.ID”.
You will see the label change to this as soon as the tip of your pointer lands on the ID field of BREAKFAST.

Once released, three ( 3 ) things will happen.
The DESCRIPTION dataview will be re-named to DESCRIPTION linked to BREAKFAST,
A one‑to‑many relationship link line and symbol will appear between the two dataviews - the one “single” link pointing at ID in BREAKFAST, and the “many” pointing at MASTER_ID in the renamed dataview DESCRIPTION linked to BREAKFAST. This link line is not placed exactly on the fields, but will appear at the top of the items that are linked.
And ID in BREAKFAST will be bolded, as will MASTER_ID in DESCRIPTION - to indicate the fields that are linked.

The link between the two datasets has now been successfully completed.
The colours of the link lines have no meaning.
They are random and arbitrary.
The colours of the link lines may be different every time that the definition is opened and the dataviews are viewed on the designer canvas.
You can edit the link by double-clicking on the link line, which will open an editing window. For information about this window, please review XML Dataview - Link Button - XML File Definitions .
Columns and window borders can be resized as required by dragging them with the mouse.
Close the definition canvas by selecting Close from the File menu. You will return to the XML Definition window. Click Save to save and close the module.
Always remember to select SAVE here – else all of your hard work linking these datasets will not be saved.