Design - Excel File Definitions
Clicking Design, opens the Excel Definition designer canvas. This area creates, maintains, and displays dataviews belonging to your Excel Definition - regardless of whether they apply to Source or Destination files.
These dataviews tell Statelake what files and records are to be used, and how they are to be used.
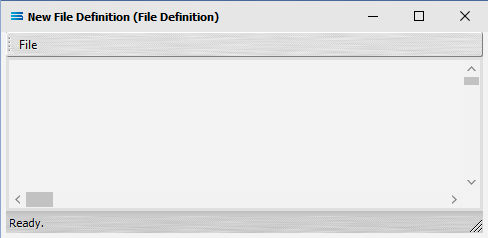
The first time this is opened for your File Definition, this designer canvas will be blank.
On the designer canvas there is a different dataview for each file type as selected - an EXCEL File generates an Workbook Dataview.
Existing File Definition Dataview
If a Dataview already exists, it will display here on the designer canvas, such as the example illustrated below.
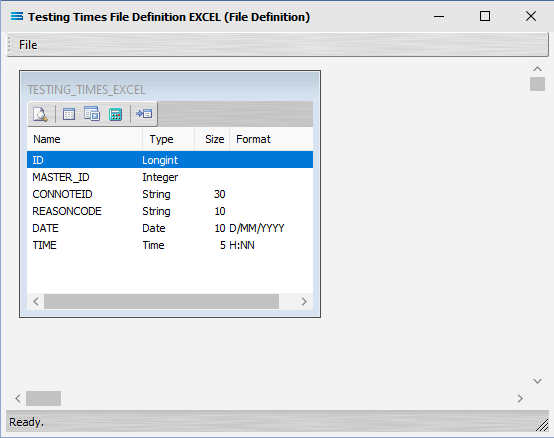
Where a dataview exists and displays on the design canvas, the various tabs are accessible via the buttons on the dataview, as follow.
Dataview Tabs
Tab Name | Description |
|---|---|
Preview | Click to see a preview of the data extracted by the query. 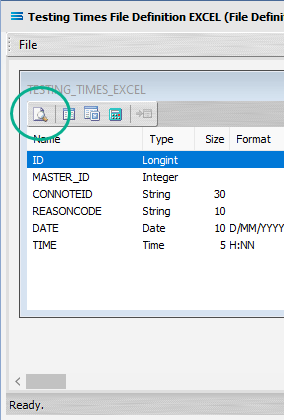 |
Records | Click to open the Records tab.  |
Fields | Click to open the Fields tab.  |
Calcs | Click to open the Calcs tab. 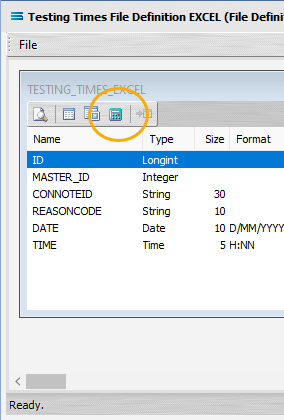 |
Link | Click to open the Link settings window. This will only be available to select where the dataview has a link to another dataview, or where there multiple dataviews but there are no links. This example below shows the link button active on two (2) currently unlinked dataviews. 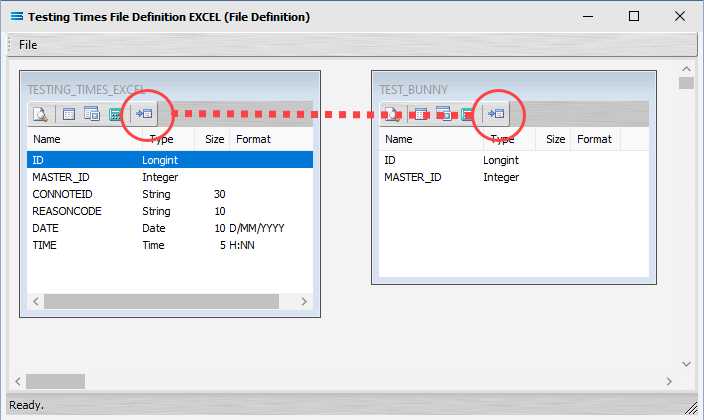 |
New File Definition Dataview
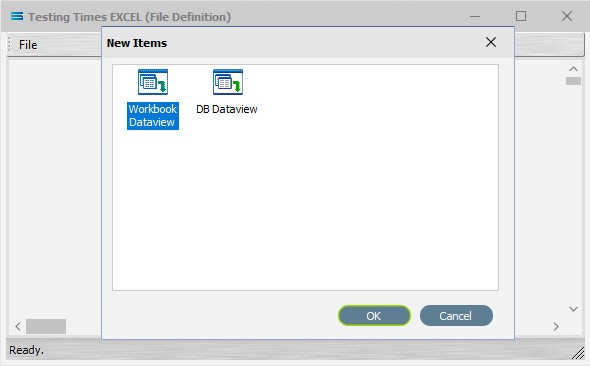
To create the initial dataview on an empty canvas for a new Excel Definition, or to add another dataview, select File and New (or Ctrl-N) to create a new dataview to configure.
While the following examples illustrate an Excel Dataview, all dataviews are created in the same manner.

Make sure to select the appropriate dataview - in this case it is a Workbook Dataview. Click on OK to continue.
Buttons
Button Name | Description |
|---|---|
OK | Click to save any changes you have made. All changes will be lost if you do not click the OK button. |
Cancel | Click to Cancel any changes you have made. |