Importing A Template File
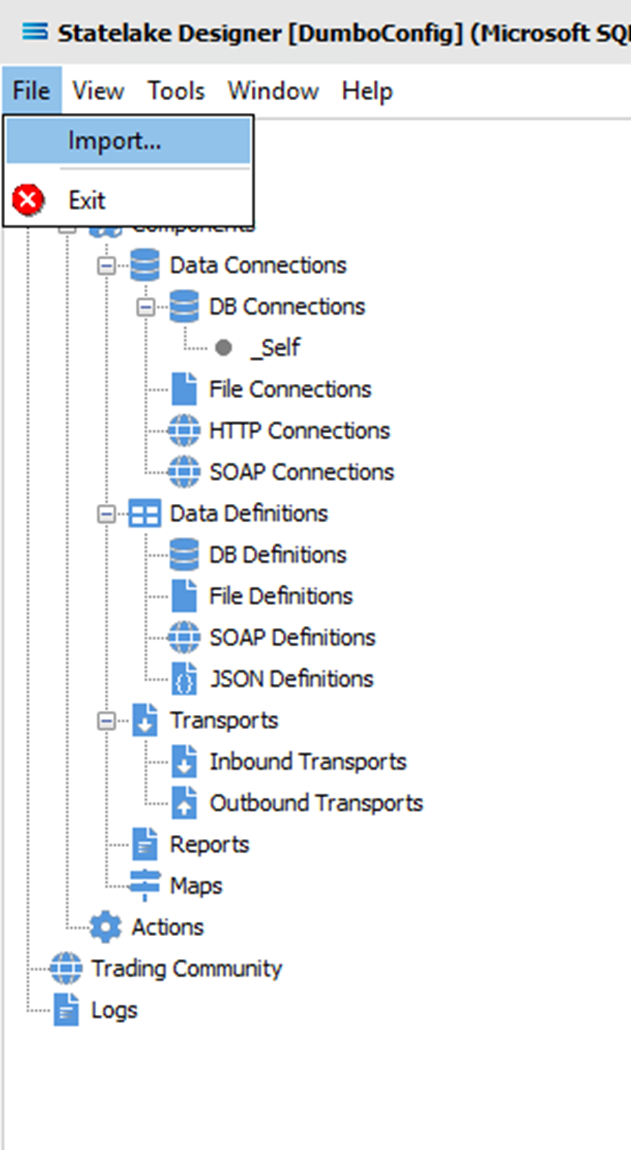
Once you are ready to import, select and open the configuration you will be importing into. Now select File from the menu, then Import.
You are prompted to select the path and file to be imported. Navigate to the appropriate directory and after selecting the file required, click Open.
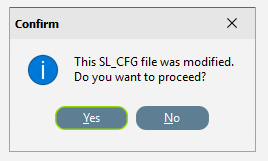
You will be prompted to confirm that you want to continue. Click Yes.
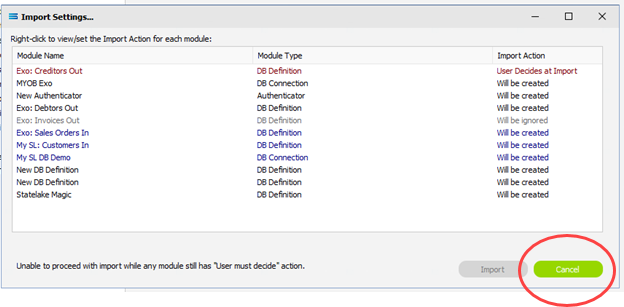
The Modules that were exported are listed in an Import Settings window.
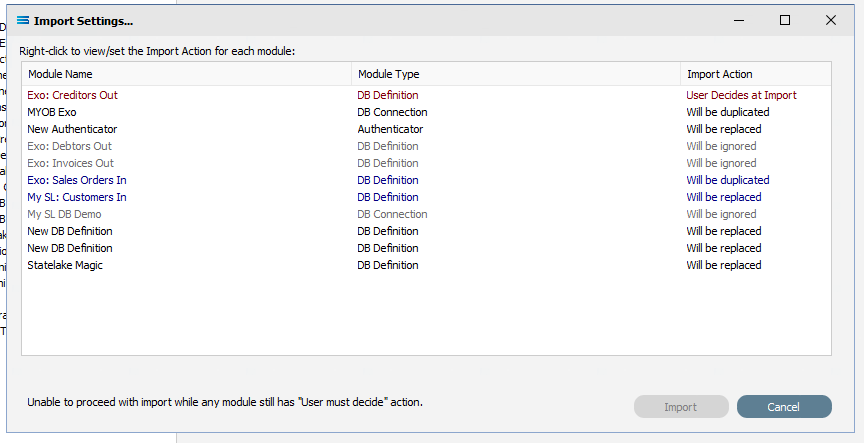
The Import Action listed beside each Module item is dependent on the action entered during the export process against each item. In this example, the export settings were , , ,

So you can see how the actions entered during export, affect the Import Action result during Import.
The Module item Exo: Creditors Out is flagged for a user decision and is displayed in red. To make that decision, right-click anywhere on the item line.
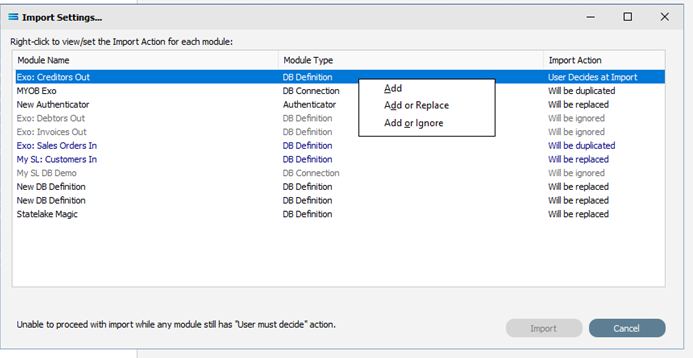
You will be presented with three options only - Add, Add or Replace, and Add or Ignore. Select as appropriate. In this example, Add or Replace was selected, so the result is Will be replaced.

If you are not sure and do not want to make a decision, the only option is to select Cancel, and nothing will be imported, as illustrated below.
When you have selected the user decision, the Import button will be activated. But even if you have made this user decision, you can still Cancel, and the Import will not proceed.
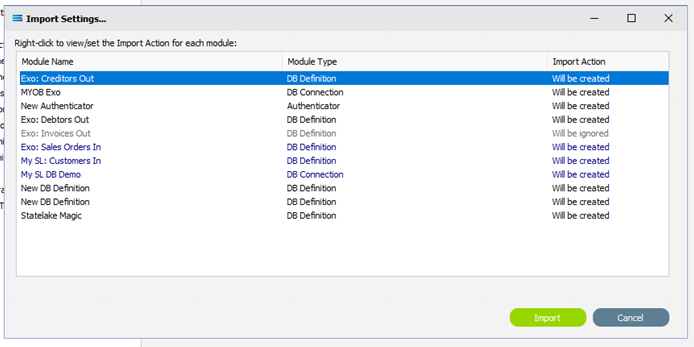
If none of the selected Module items were exported with the User decides at import action, then both the Import and Cancel button would be immediately active and available for selection.
To complete the importing process, select Import and the configuration database will be populated with these Module items.
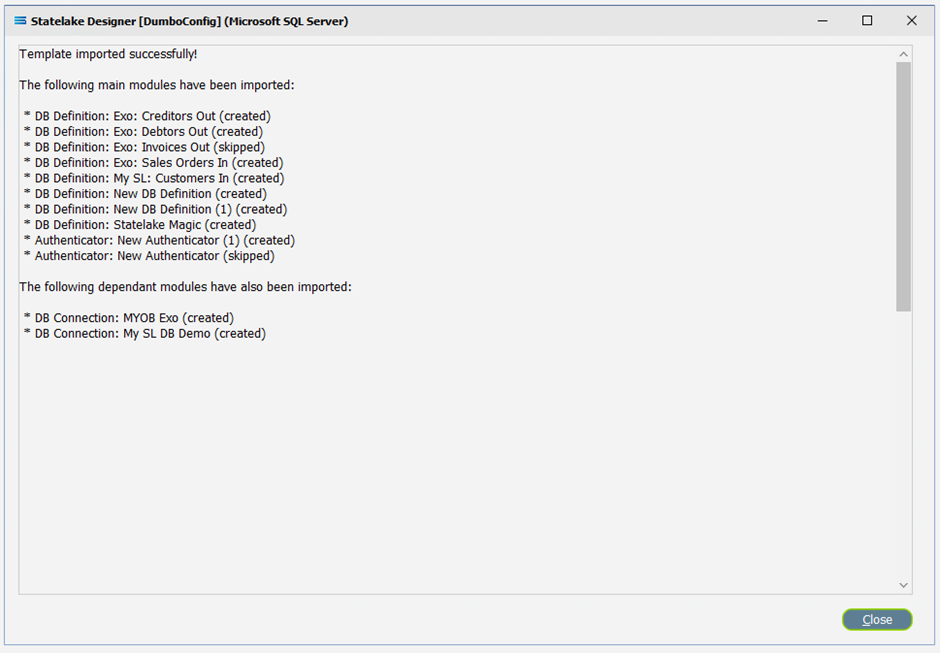
Select Close to return to the Statelake configuration database.