Workbook Dataview - Fields Tab - Excel File Definitions
All Records and Fields for a Flat File are entered manually.
The Fields tab window is split into two panes. The upper display pane Fields shows the fields as they are created, while the fields themselves are created in the lower pane, Field Details.

Click either the Add Field button or Add In-Memory Field button to add a field.
When all fields have been added as required, click on OK to Save and return to the designer canvas.
Field Details Buttons
Button Name | Description |
|---|---|
Field Details Add Field | Click the Add Field icon to create a field. 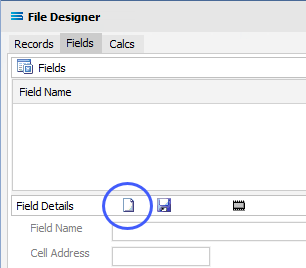 When adding the 2nd and subsequent fields, once this button icon has been activated, the Cell Address button is automatically populated with the next sequential column after the first entry, and the remaining fields in the lower pane are able to be populated. 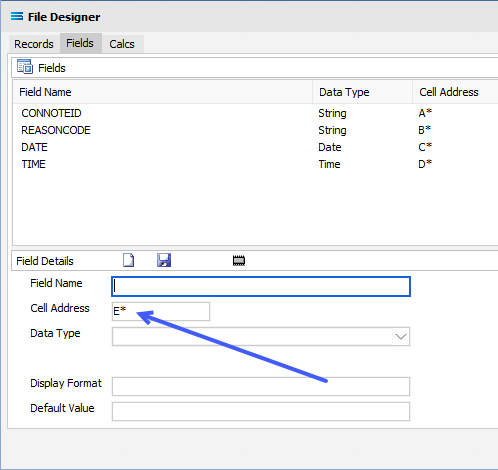 If you add more fields than you have specified as the Cell Range on the Records tab, make sure to edit the Cell Range accordingly. It will not automatically update to keep pace with the field addresses. |
Save Changes | Click to Save the field and display the details in the upper pane. 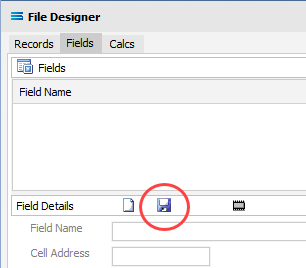 |
Add In-Memory Field | Click to Add In-Memory Field. These fields are additional fields that are available in memory only while the dataview is active. It is not necessary to add a Cell Address for an In-Memory field. Click the Save Changes button to complete the field. As soon as the dataview is closed, these temporary fields no longer exist. 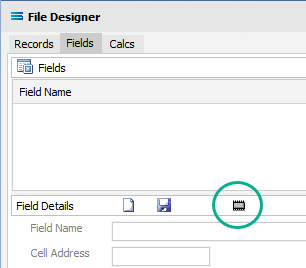 |
Fields
Field Name | Description |
|---|---|
Field Details Field Name | The Name of the field. A space in the Name is automatically interpreted as an underscore ( _ ). |
Cell Address | The cell that values will be read from, or written to, for the field. This address may identify a column with an asterisk ( * ) in place of the row number. When reading/writing the dataview, the current record pointer in the dataview determines the row. A Cell Address that uses the dataview record pointer for the row location would be A* or E*. The value for the 2nd and subsequent field entries will self populate this field incrementally, based on the value held for the first field entry. Alternatively, the Cell Address may identify a specific cell with a fixed row and column. In this case, such a field will consistently and constantly read from/write to the same cell, irrespective of the position of the underlying record pointer. An example of a Cell Address that identifies a fixed cell would be B5 or D11. Typically the worksheet that is accessed by a particular field will be determined by the Worksheet setting on the Records tab of the dataview. Where necessary however, this may be overridden for a specific field by including the worksheet name or ID in the cell address. This is incorporated using the Excel format for cell references, with the worksheet name preceding the cell address and separated by an exclamation mark ( ! ). An example of a Cell Address that overrides the dataview worksheet would be Details!B5 - where Details is the name of the worksheet. |
Data Type | Select a data type for the field from the drop-down list, such as string or integer. |
Field Size | The maximum size of the field. This field will only appear and be available for certain Data Types. |
Display Format | This field is dependent on the Data Type selected. It will not be available for string or Largeint fields. When reading from a Boolean field where no Display Format is specified, the following values are all interpreted as True - Y, T, YES, TRUE, y, t, yes, true, Yes, True, 1 And the following are interpreted as False - N, F, NO, FALSE, n, f, no, false, No, False, 0 Any other value is considered to be Null. When writing to a Boolean field where no Display Format is specified, True values are written as “true”, and False values are written as “false”. Null values are written as an empty cell. To provide specific True/False values, the Display Format value should be specified as comma separated lists of values which are themselves separated by a semi-colon ( ; ) - such as True values;False values. If only True values are specified then any value except Null (an empty cell) that is not one of those values will be treated as False - i.e. Y,T; or Y,T (without the semi-colon). If only False values are specified then any value except Null (an empty cell) that is not one of those values will be treated as True - i..e. ;F,N,0 (the Display Format starts with a semi-colon). When writing a Boolean field where multiple values are specified for True or False, then the first entry specified for the corresponding field value will be what is written to the cell. For example where the Display Format is specified as Y,T,1;N,F,0 then if True then Y would be written, and if False then N would be written. |
Default Value | Enter the value to be used as a default for the field. |
Fields In Memory | The default for fields entered manually is False. However, this displays as True if the field has been created by clicking the Add In-Memory Field button. |
Buttons
Button Name | Description |
|---|---|
OK | Click to save any changes you have made. All changes will be lost if you do not click the OK button. |
Cancel | Click to Cancel any changes you have made. |
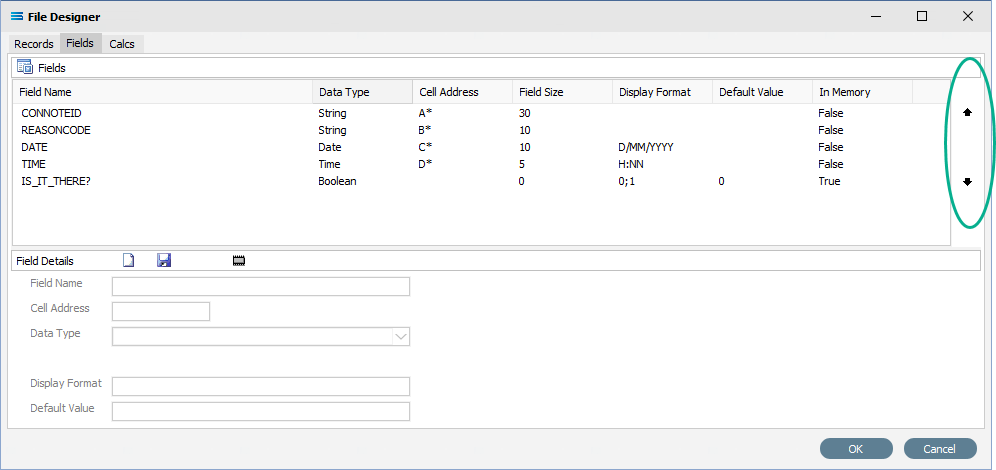
In the following examples, five ( 5 ) fields have been created for the TESTING_TIMES_EXCEL record. The final field is a Boolean type In-Memory field - note the In-Memory flag has been set to True.
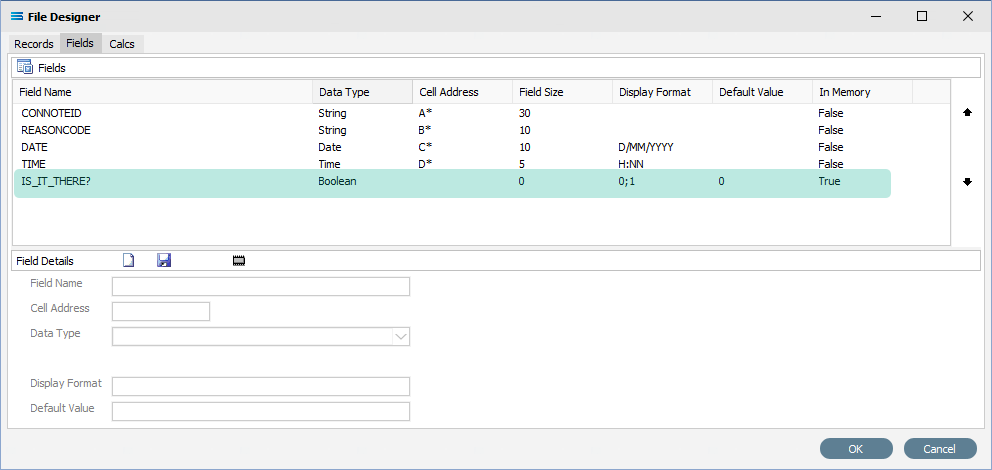
For fields with a Boolean data type, the Display Format field will default to 0;1.
A True will return everything to the left of the first semi-colon ( ; ) - while a False will return the value to the right of the first semi-colon ( ; ).
As the first value is taken for True, this means that a True value will return a zero (0) and not a one (1).
So in this example, for the field IS_IT_THERE?, a True value will return zero (0).
The field default is set to positive.
To edit an existing field, click on the field and the details will populate the lower pane.
Change the details as required and click Save to re-save the record with your changes. To discard any changes, select Cancel.
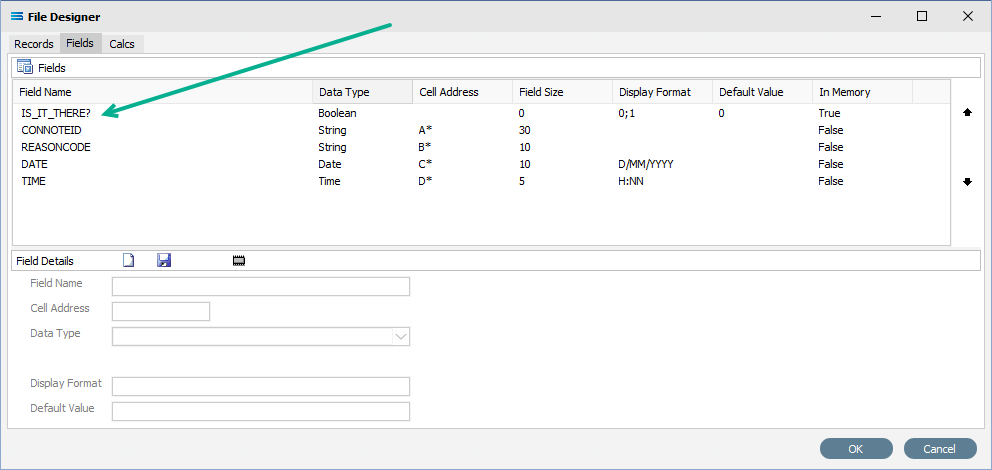
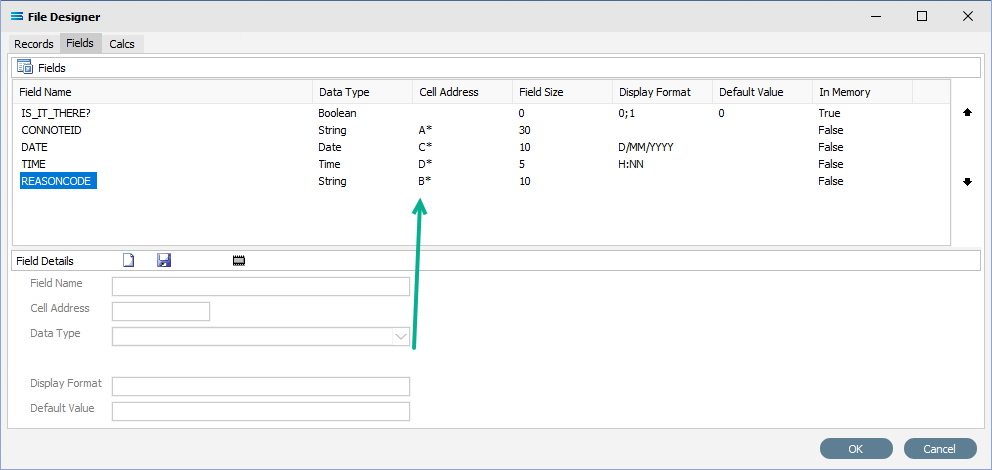
New fields will automatically be appended to the bottom of the Fields list. While Statelake does not care what order the fields are in, you may want to change the order to make the list easier to read or follow. To change this order, click on the field to be moved, such as IS_IT_THERE?. Once the field has been highlighted, click either of the up and down arrows shown on the right margin to move your selected field.